
Introduction
Designing in Figma and exporting directly to WordPress is a game-changer for web designers, developers, and agencies. This workflow bridges the gap between design and development, ensuring a smooth transition from mockup to live website.
However, without proper planning, this process can lead to inconsistencies, performance issues, and wasted time. This guide covers Figma design for WordPress best practices, ensuring your designs translate perfectly into a functional WordPress site.
Why Use Figma for WordPress Design?
Before diving into the process, let’s explore why Figma is the preferred tool for WordPress designers:
- Collaboration-Friendly – Real-time collaboration for teams.
- Design Consistency – Reusable components and styles.
- Developer Handoff – Easy export of assets and CSS.
- Plugin Integration – Tools like Figmentor streamline WordPress export.
- Responsive Design – Built-in prototyping for different screen sizes.
Step 1: Setting Up Your Figma File for WordPress
1.1 Use a Grid & Layout System
WordPress themes rely on structured layouts. Set up a 12-column grid in Figma to match WordPress’s responsive framework.
- Desktop: 1200px (standard WordPress container width)
- Tablet: 768px
- Mobile: 375px
1.2 Define Global Styles
Consistency is key. Use Figma’s Styles for:
- Colors (Primary, Secondary, Backgrounds)
- Typography (Headings, Body Text, Buttons)
- Effects (Shadows, Blurs)
This ensures your WordPress site maintains the same visual identity.
1.3 Use Auto Layout for Components
Auto Layout helps maintain spacing and alignment when exporting to WordPress. Apply it to:
- Buttons
- Navigation menus
- Cards
- Forms
Step 2: Designing for WordPress Compatibility
2.1 Stick to WordPress-Friendly Elements
Not all Figma designs translate well to WordPress. Avoid: Complex animations (use CSS/JS in WordPress instead) Custom fonts without web licenses Overlapping elements (WordPress uses a box model)
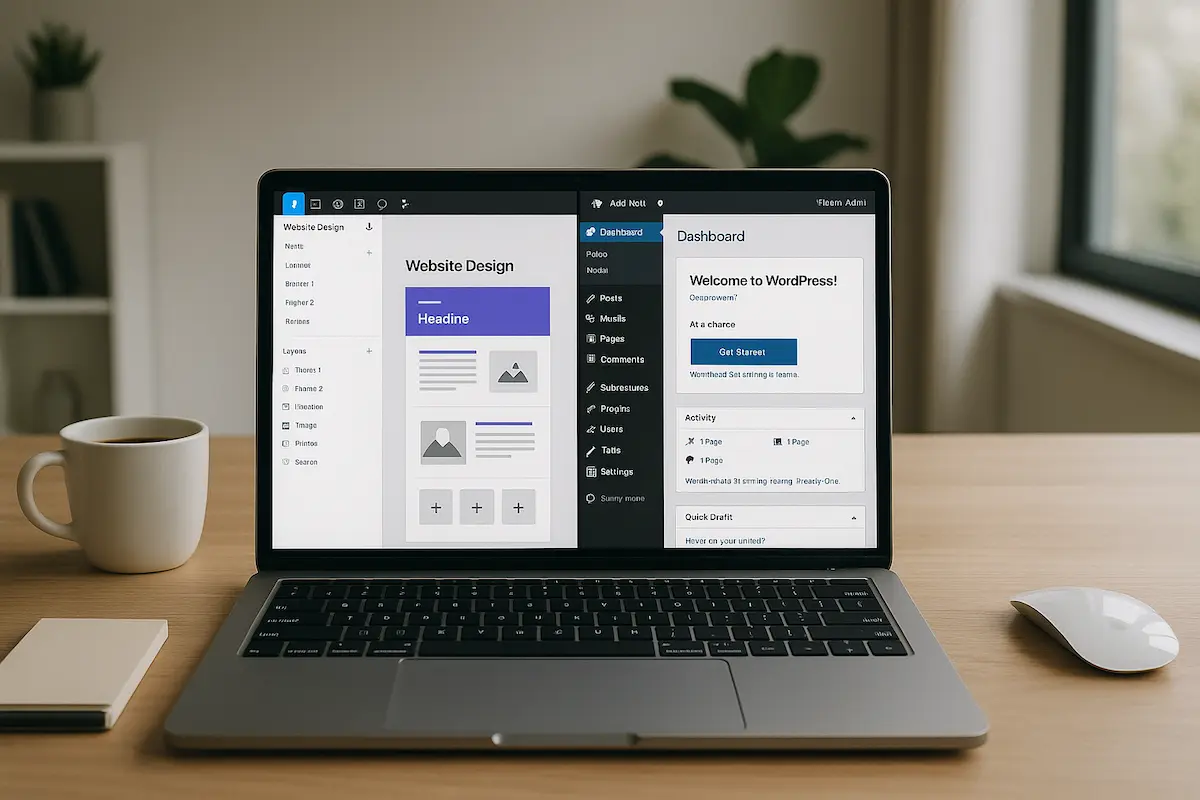
2.2 Use WordPress-Ready Components
Design with Elementor, Gutenberg, or Oxygen Builder in mind. For example:
- Headers & Footers – Use sticky headers if needed.
- Forms – Keep them simple for plugin compatibility (e.g., Gravity Forms).
- Image Optimization – Use WebP format for faster loading.
2.3 Responsive Design Best Practices
- Mobile-First Approach – Design for mobile, then scale up.
- Breakpoints – Test at 320px, 768px, and 1200px.
- Flexible Containers – Avoid fixed-width elements.
Step 3: Preparing for WordPress Export
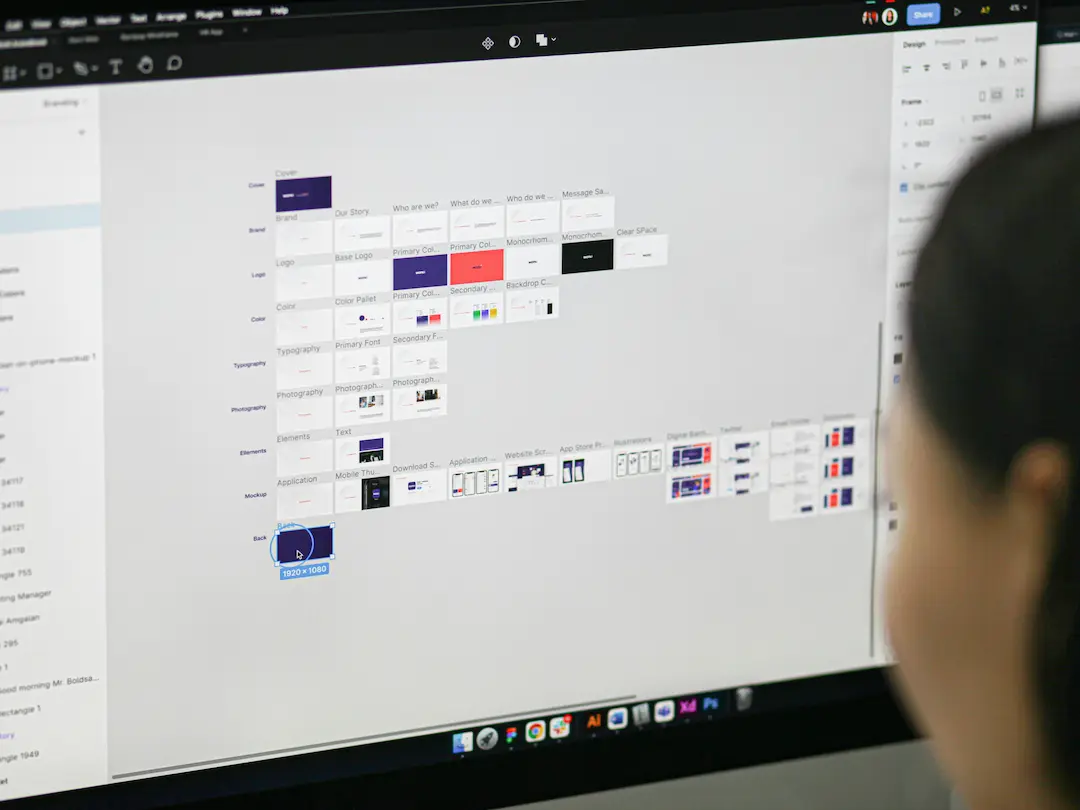
3.1 Organize Layers & Frames
A messy Figma file leads to a messy WordPress site. Use:
- Clear naming conventions (e.g., “Hero-Section,” “CTA-Button”)
- Grouped layers (e.g., “Header,” “Footer”)
- Component libraries for reusable elements
3.2 Export Assets Correctly
- SVG for logos & icons (scalable without quality loss)
- WebP for images (better compression than PNG/JPG)
- CSS for styling (use Figma’s export options)
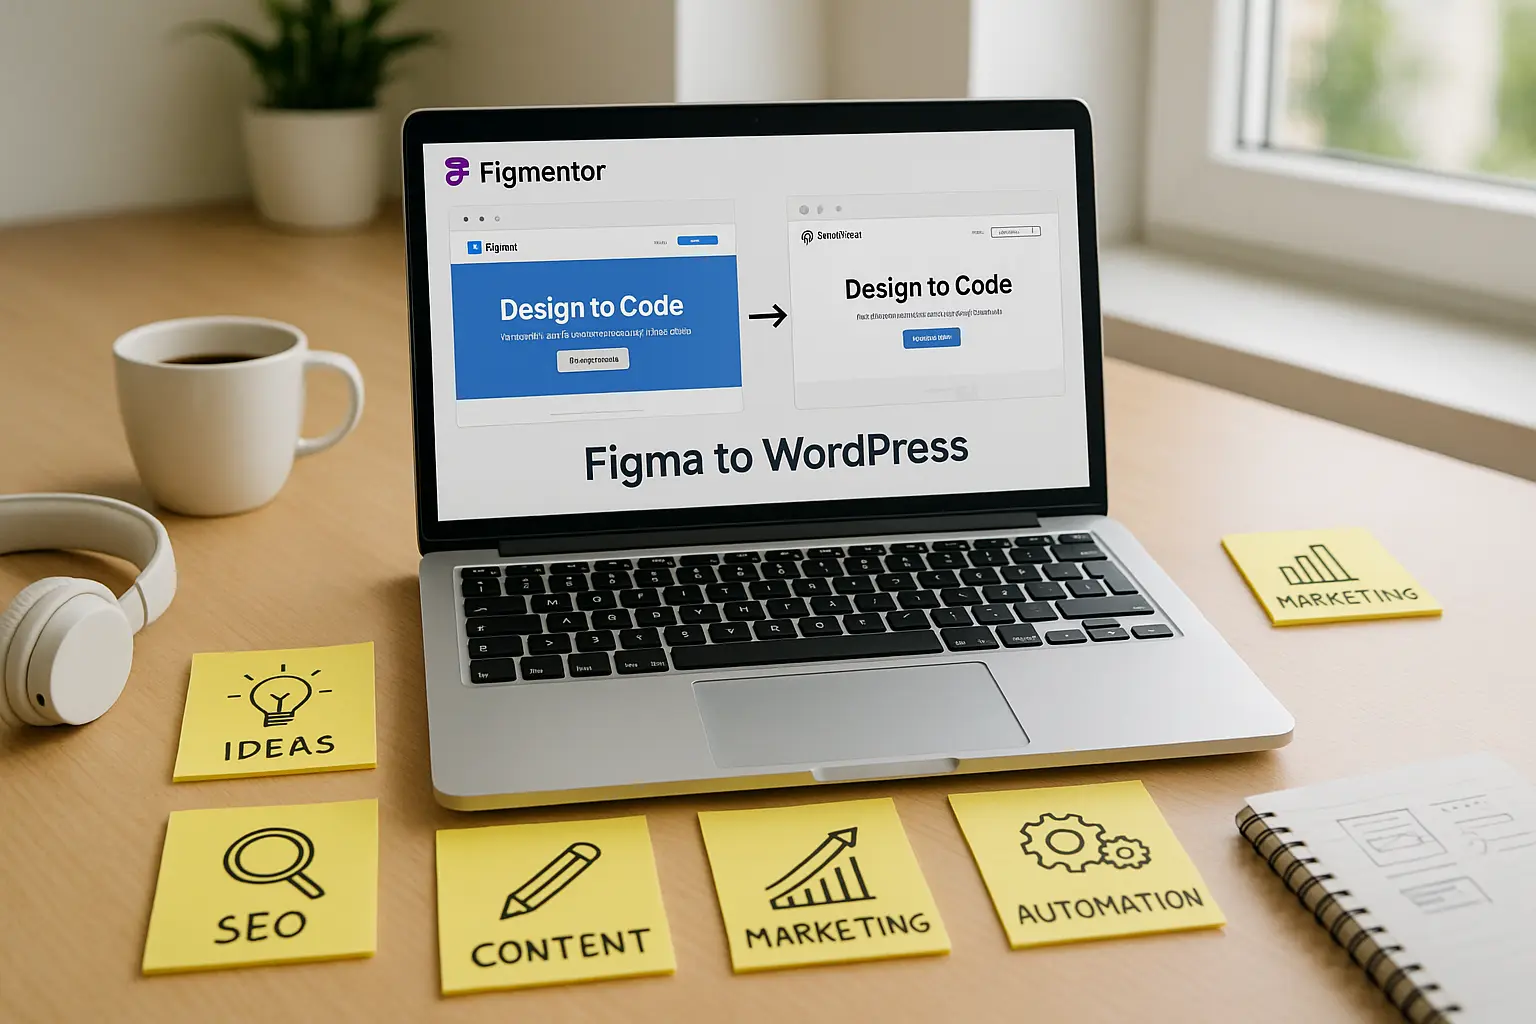
3.3 Use Figma Plugins for WordPress Export
Plugins like Figmentor automate the conversion process:
- One-click export to WordPress
- Preserves styling & structure
- Reduces manual coding
Step 4: Testing & Optimization
4.1 Check Cross-Browser Compatibility
Test your WordPress site in:
- Chrome
- Firefox
- Safari
- Edge
4.2 Performance Optimization
- Lazy load images (use plugins like Smush)
- Minify CSS/JS (Autoptimize plugin)
- Enable caching (WP Rocket)
4.3 Validate HTML & CSS
Use tools like:
- W3C Validator (for clean HTML)
- CSS Lint (for optimized stylesheets)
Common Mistakes to Avoid
Ignoring WordPress Theme Constraints – Not all designs fit standard themes. Overusing Custom Code – Stick to WordPress-friendly plugins. Not Testing on Mobile – Responsive design is non-negotiable. Skipping Developer Handoff – Always share Figma assets with developers.
FAQ Section
1. Can I export Figma designs directly to WordPress?
Yes, using plugins like Figmentor, you can export Figma designs to WordPress with minimal manual adjustments.
2. What’s the best Figma-to-WordPress workflow?
- Design in Figma with WordPress constraints in mind.
- Use Auto Layout and global styles.
- Export assets and CSS.
- Use a plugin like Figmentor for seamless conversion.
3. How do I ensure my Figma design looks the same in WordPress?
- Stick to standard WordPress elements.
- Avoid complex animations.
- Test responsiveness before exporting.
4. What’s the best way to handle fonts in Figma for WordPress?
Use Google Fonts or system fonts to ensure compatibility. Avoid custom fonts without web licenses.
5. Can I use Figma for Elementor templates?
Yes! Design in Figma, then export to Elementor using plugins like Figmentor for a smooth transition.
Conclusion
Designing in Figma for WordPress export requires planning, structure, and optimization. By following these best practices, you’ll create high-quality, responsive, and performance-optimized WordPress sites without the usual design-to-development friction.
Ready to streamline your workflow? Try Figmentor for seamless Figma-to-WordPress exports
Suggested articles
- Figma to WordPress: The Ultimate Guide for Designers and Developers
- How to Export Figma Designs Straight to WordPress in 2025
- How to Create Pixel-Perfect WordPress Pages from Figma Files
- Figma Plugins You Should Be Using in 2025
- How to Build a WordPress Website from Figma Without a Single Line of Code
- Top 5 Tools to Automate Your WordPress Workflow
- 7 Costly Mistakes When Converting Figma to WordPress and How to Avoid Them
- Figma Design Tips for WordPress