
Figma to Elementor: Complete Conversion Guide 2026
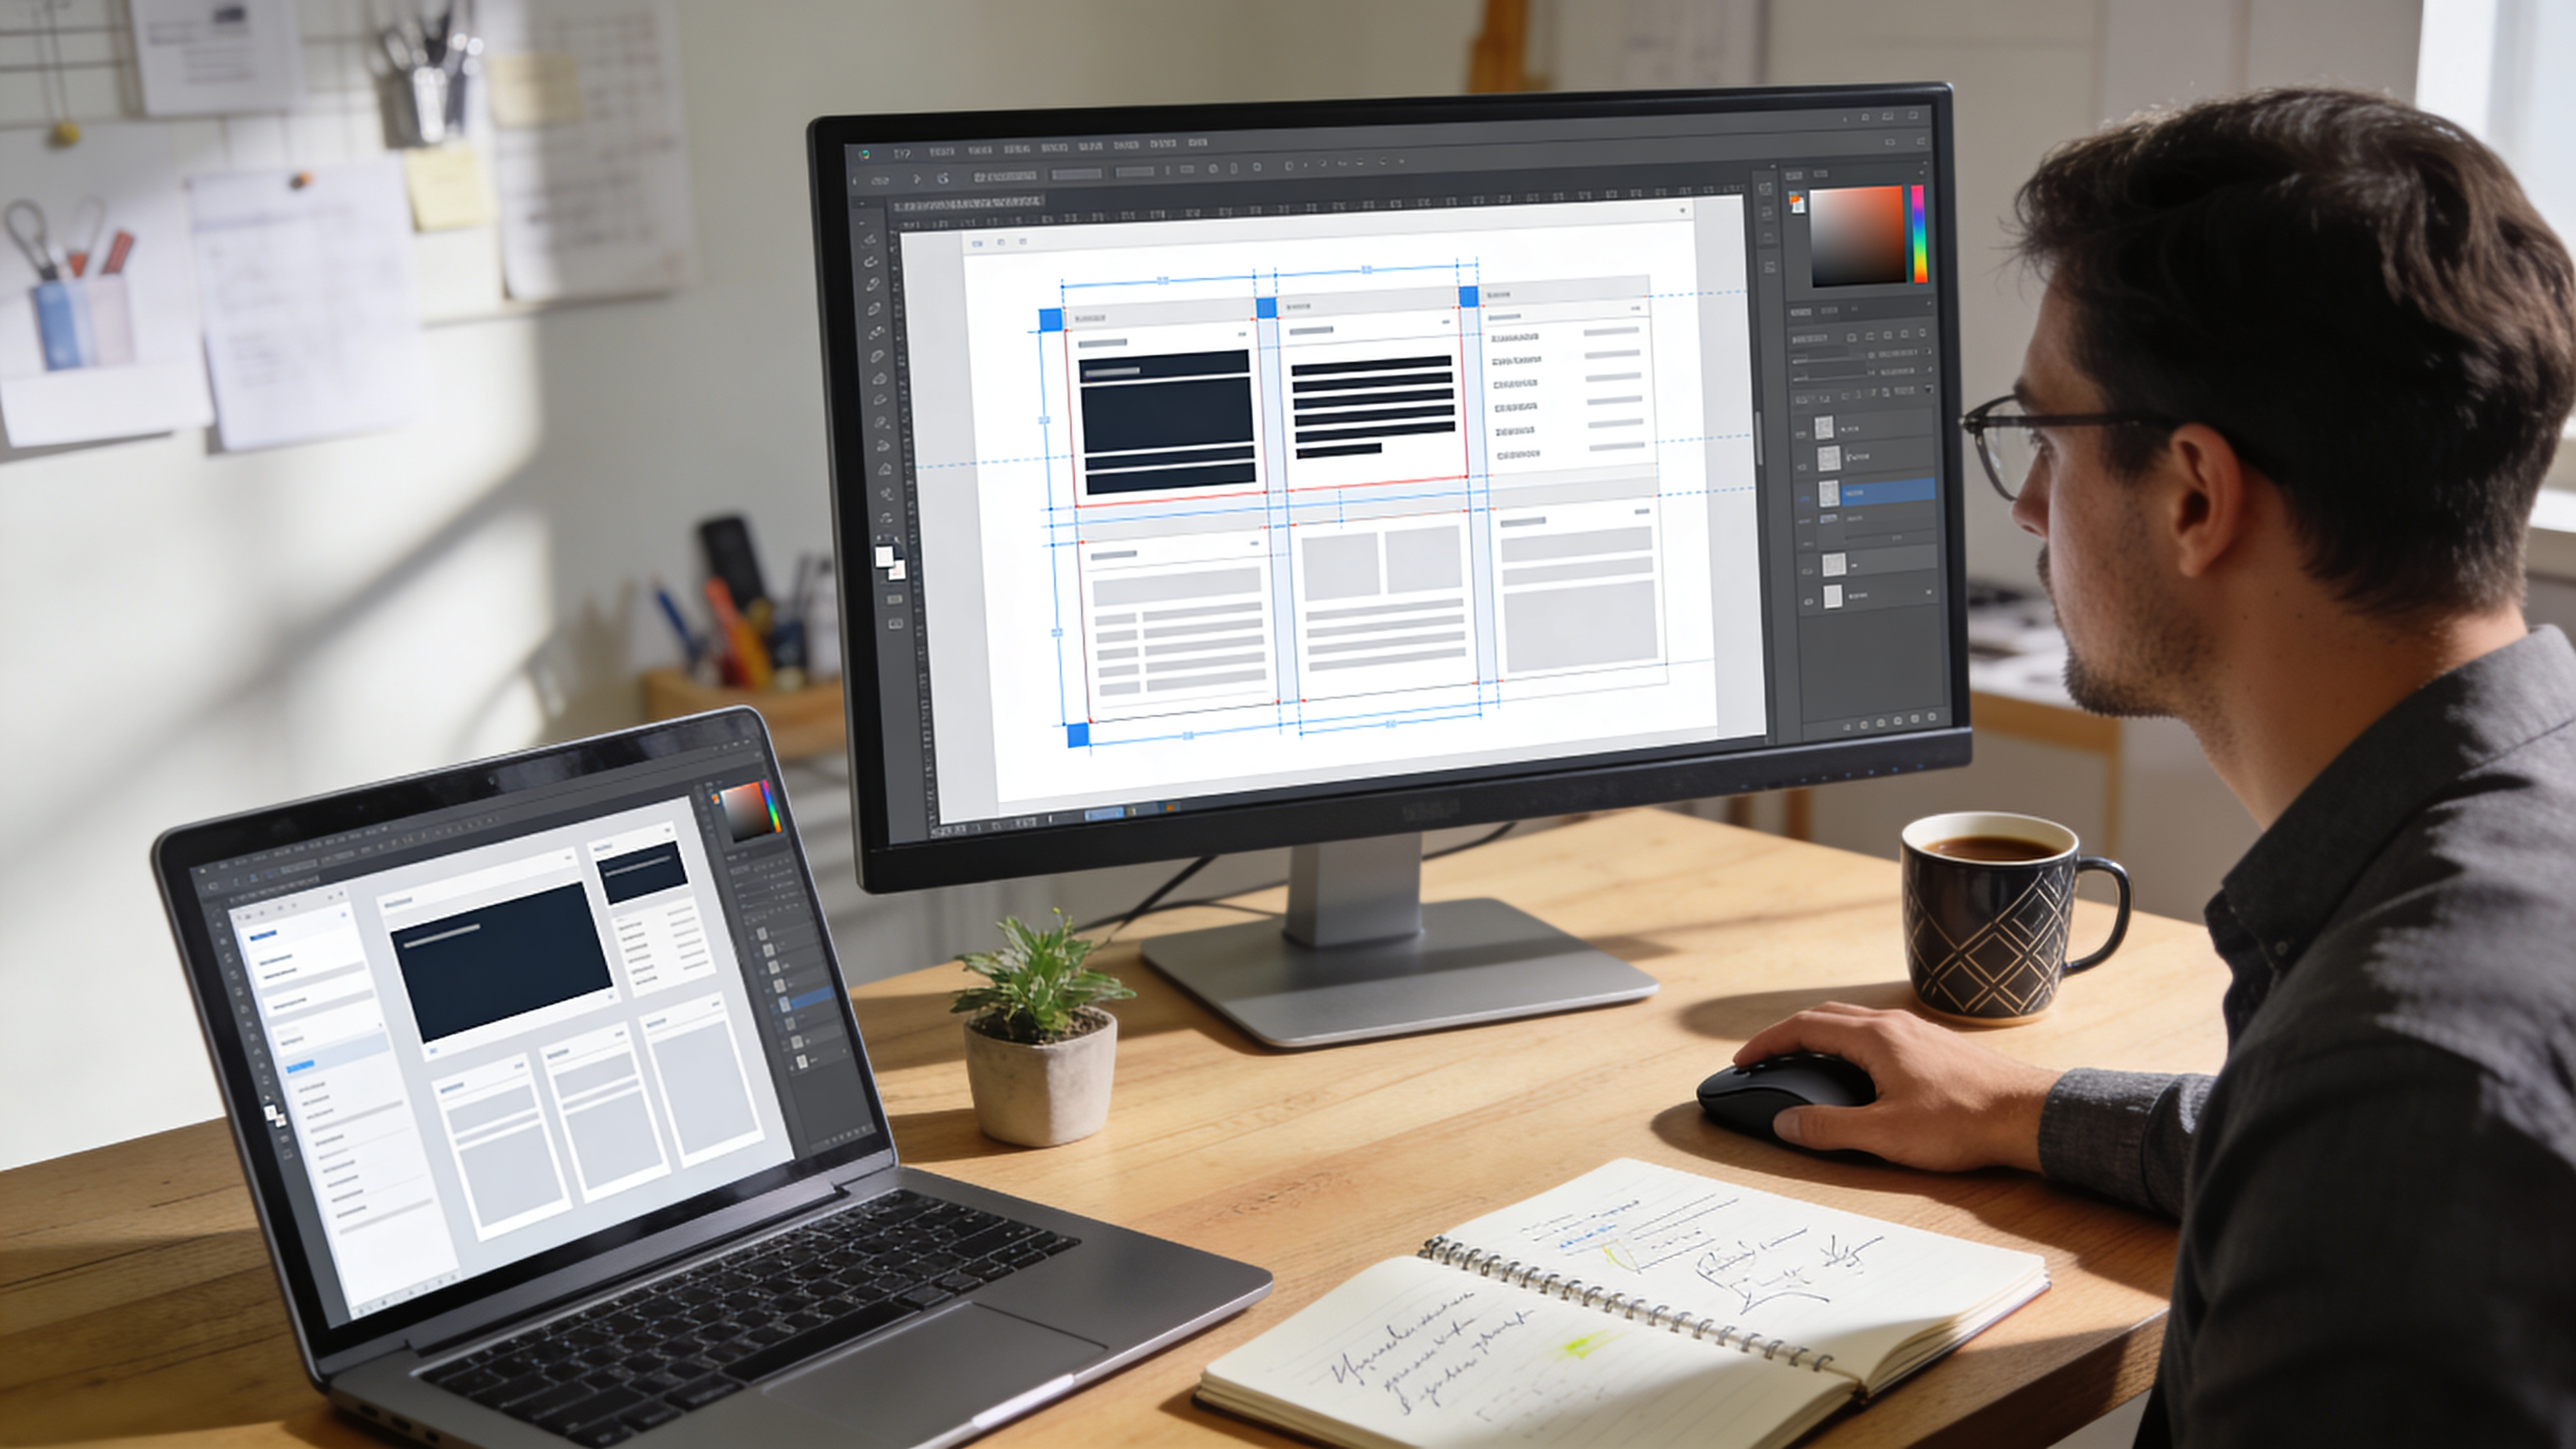
You’ve spent hours perfecting your Figma design. The spacing is precise, the typography is on point, and your client loves the prototype. Now comes the part that makes most designers groan: turning those beautiful frames into a working WordPress site.
The traditional approach means manually recreating every element in Elementor, wrestling with responsive breakpoints, and watching your pixel-perfect design slowly deteriorate into something that “sort of looks like the mockup.” A 5-page landing site with custom components can easily consume 15-20 hours of tedious development work.
But here’s the reality in 2026: you don’t have to do it the hard way anymore. Modern Figma to Elementor workflows leverage automation, smart plugins, and proven techniques that reduce conversion time from days to hours or even minutes for simpler projects.
This guide walks you through every method available, from manual techniques for learning the fundamentals to advanced automation that handles complex design systems. Whether you’re a freelancer looking to increase project capacity or an agency scaling your design-to-development pipeline, you’ll find actionable strategies you can implement today.
Understanding the Figma to Elementor Workflow
Before diving into specific tools and techniques, let’s establish what actually happens when you convert a Figma design to Elementor. Understanding this process helps you choose the right approach for each project and troubleshoot issues when they arise.
The Core Conversion Challenge
Figma and Elementor speak different languages. Figma uses frames, auto-layout, and design tokens. Elementor uses containers, flexbox widgets, and WordPress-native elements. The conversion process must translate between these systems while preserving:
- Visual fidelity: Colors, typography, spacing, and proportions
- Responsive behavior: How elements adapt across desktop, tablet, and mobile
- Interactive states: Hover effects, animations, and user interactions
- Semantic structure: Proper heading hierarchy and accessibility
The complexity multiplies with design system components. A Figma component with variants and nested auto-layout requires intelligent mapping to Elementor’s widget structure—something that manual conversion handles poorly at scale.
Three Conversion Approaches
Manual Recreation works best for simple designs or when you need maximum control. You’ll reference your Figma file while building in Elementor from scratch. Time investment: 2-4 hours per page for experienced developers.
Export and Adapt uses Figma’s export features to extract assets, then builds in Elementor using those resources. Faster than pure manual work, but still requires significant Elementor expertise. Time investment: 1-2 hours per page.
Automated Conversion leverages specialized tools that read Figma’s structure and generate Elementor-compatible output. Tools like Figmentor automate the component-to-widget mapping, reducing 3 hours of work to 10 minutes for standard layouts.
Each approach has its place. Let’s explore when to use each one.
Manual Conversion: Building Foundations
Even if you plan to use automation, understanding manual conversion makes you more effective. You’ll troubleshoot edge cases faster and know when automated output needs adjustment.
Setting Up Your Workspace
Start by opening your Figma design and Elementor editor side by side. If you’re working with dual monitors, dedicate one to each. Single-monitor workflows benefit from browser tab switching with keyboard shortcuts.
In Figma, enable Developer Mode (keyboard shortcut: Shift + D). This view exposes:
- Exact pixel dimensions and spacing values
- CSS-ready color codes and typography specs
- Auto-layout properties translated to flexbox terms
- Asset export options for images and icons
In Elementor, create a new page template and set your canvas width to match Figma’s frame. Most designers work with 1440px desktop frames, which aligns with Elementor’s default desktop breakpoint.
Translating Figma Structures to Elementor
Frames become Containers. Figma’s frame element maps directly to Elementor’s Container widget. When you see a frame in Figma, create a container in Elementor with matching dimensions.
For frames using auto-layout:
- Horizontal auto-layout → Container with Flexbox direction: Row
- Vertical auto-layout → Container with Flexbox direction: Column
- Auto-layout gap → Container gap setting (applies uniformly)
- Padding in auto-layout → Container padding values
Components become Saved Templates. If your Figma design uses reusable components (navigation bars, card layouts, footer sections), build these once in Elementor and save as templates. Right-click any section and choose “Save as Template” for quick reuse across pages.
Text layers become Heading or Text Editor widgets. Match typography exactly by copying values from Figma’s Developer Mode:
/* Figma shows these values in Developer Mode */
font-family: Inter;
font-weight: 600;
font-size: 48px;
line-height: 58px;
letter-spacing: -0.02em;
Transfer these to Elementor’s Typography controls. Note that Elementor uses different units—you may need to convert line-height to em values (58/48 = 1.21em).
Handling Images and Assets
Export images from Figma at 2x resolution for retina displays. Use these export settings:
| Asset Type | Format | Scale | Use Case |
|---|---|---|---|
| Photographs | WebP | 2x | Hero images, backgrounds |
| Icons | SVG | 1x | UI elements, logos |
| Illustrations | SVG or WebP | 2x | Decorative graphics |
| Screenshots | PNG | 2x | Product demos, tutorials |
Upload assets to WordPress Media Library before building in Elementor. Organize by project or page to maintain sanity as your library grows.
Responsive Considerations in Manual Builds
Figma designs typically show desktop layouts. Elementor requires explicit settings for tablet (1024px) and mobile (767px) breakpoints.
For each section you build:
- Complete the desktop version first
- Switch to Tablet view in Elementor and adjust:
- Font sizes (typically 85-90% of desktop)
- Container widths (often switch to full-width)
- Spacing values (reduce by 20-30%)
- Column stacking order
- Switch to Mobile view and further adjust:
- Font sizes (typically 70-80% of desktop)
- Hide decorative elements that clutter small screens
- Simplify navigation patterns
- Increase touch target sizes (minimum 44px)
This process is time-intensive but gives you complete control. For a step-by-step responsive workflow, our dedicated tutorial covers advanced breakpoint techniques.
Export and Adapt: The Middle Path
The export-and-adapt approach extracts maximum value from Figma’s native features while reducing Elementor build time. You’re not fully automating, but you’re not starting from zero either.
Extracting Design Tokens
Design tokens are the foundational values that define your design system: colors, typography, spacing scales, and effects. Extracting these from Figma creates consistency in your Elementor build.
Colors: In Figma, document colors appear in the right panel. Copy hex values and create matching Global Colors in Elementor (Site Settings → Global Colors). Name them identically to your Figma color names for easy reference.
Typography: Figma’s text styles export directly as CSS. Create matching Global Fonts in Elementor, replicating font family, weight, size, and line-height combinations.
Spacing: Document your spacing scale (4px, 8px, 16px, 24px, 32px, etc.) and apply consistently in Elementor’s padding and margin fields.
Many designers skip this setup step and wonder why their Elementor builds feel inconsistent. The 15 minutes spent on Global Styles saves hours of per-element adjustments.
Using Figma Plugins for Export
Several Figma plugins accelerate the export process:
Figma to HTML exporters generate static HTML/CSS that you can reference (not import) while building in Elementor. The code shows exact CSS properties without the translation effort.
Asset optimization plugins batch-export all images with correct naming conventions and optimized file sizes.
CSS variable generators export your design tokens as CSS custom properties, which you can paste into Elementor’s Custom CSS for site-wide consistency.
Building with Elementor Kits
If your Figma design follows a consistent system, consider building an Elementor Kit first. Kits package Global Colors, Global Fonts, and default widget styles into reusable presets.
The workflow:
- Extract design tokens from Figma
- Create an Elementor Kit with matching values
- Build individual pages using the kit’s defaults
- Export the kit for future projects with similar aesthetics
This approach works brilliantly for agencies with standardized design frameworks. Build the kit once, reuse across dozens of projects.
Automated Conversion: Maximum Efficiency
Automation transforms the Figma to Elementor workflow from hours of manual labor to minutes of review and refinement. Modern tools understand Figma’s structure and generate Elementor-ready output with remarkable accuracy.
How Automated Conversion Works
Automated tools access your Figma file through the Figma API, which exposes the complete design structure: frames, layers, styles, components, and their relationships. The tool then:
- Parses the design tree: Identifies parent-child relationships and semantic groupings
- Maps elements to widgets: Translates Figma primitives to Elementor equivalents
- Extracts styles: Converts Figma’s properties to Elementor-compatible values
- Generates output: Produces JSON, HTML, or direct Elementor template files
The quality difference between tools comes down to how intelligently they handle edge cases: nested auto-layouts, component variants, blend modes, and responsive behavior.
Evaluating Conversion Tools
When choosing an automated solution, consider:
Accuracy metrics: How closely does output match the original design? Top tools achieve 95%+ accuracy on standard layouts, with some manual adjustment needed for complex effects.
Responsive handling: Does the tool generate mobile and tablet breakpoints, or only desktop? Manual responsive adjustments add significant time.
Component support: Can the tool handle Figma components and variants? This matters for design system-heavy projects.
Output format: Direct Elementor JSON import saves the most time. Tools requiring intermediate steps (HTML → Elementor) add friction.
Learning curve: Some tools require specific Figma organization patterns. Evaluate whether your existing workflow aligns or requires adaptation.
Figmentor streamlines this workflow by directly converting Figma frames into Elementor containers with preserved spacing and alignment. The JSON export imports directly into Elementor without intermediate conversion steps.
Optimizing Designs for Automated Conversion
Your Figma organization affects conversion quality. These practices improve results:
Use auto-layout consistently. Auto-layout frames convert more accurately than fixed-position layouts. Tools can infer flexbox properties directly from auto-layout settings.
Name layers descriptively. Layer names like “Header_NavBar_Primary” help tools identify semantic structure. Avoid default names like “Frame 427.”
Group logically. Elements that should stay together (icon + label pairs, input + helper text) should be grouped in Figma. Tools preserve these relationships in output.
Flatten complex effects. Blur effects, advanced blend modes, and mesh gradients may not convert perfectly. Consider exporting these as images rather than relying on CSS recreation.
Use components for repetition. Repeated elements (cards, list items, buttons) should be Figma components. Tools handle components more intelligently than duplicated layers.
Post-Conversion Refinement
Even excellent automated conversion requires review. Budget 10-20% of your original time estimate for:
Typography fine-tuning. Font rendering differs between Figma and web browsers. Adjust letter-spacing and line-height for optimal web appearance.
Interactive states. Hover effects, focus states, and transitions typically require manual Elementor configuration.
Responsive adjustments. While automated tools generate responsive layouts, you’ll likely want to tweak specific elements for tablet and mobile.
Performance optimization. Check image sizes, lazy loading settings, and unnecessary wrapper elements that might slow page load.
Accessibility review. Verify heading hierarchy, alt text, focus indicators, and color contrast ratios meet WCAG 2.1 standards.
Advanced Techniques for Complex Projects
Standard conversion handles 80% of projects. These advanced techniques address the remaining 20% where complexity demands specialized approaches.
Handling Design Systems at Scale
Enterprise projects with extensive design systems require systematic conversion approaches. Rather than converting page-by-page, build an Elementor component library that mirrors your Figma components.
Step 1: Identify atomic components. List every Figma component: buttons, inputs, cards, navigation elements, footer sections. Prioritize by usage frequency.
Step 2: Build Elementor equivalents. Create each component in Elementor, matching all variants. Save as Global Widget (Pro feature) or Templates.
Step 3: Establish naming conventions. Use identical names in Figma and Elementor. “Button/Primary/Large” in Figma becomes “Button Primary Large” template in Elementor.
Step 4: Document the mapping. Create a reference sheet showing which Figma component maps to which Elementor template. This documentation accelerates team onboarding.
Step 5: Build pages from components. With your library established, page conversion becomes assembly rather than creation.
This upfront investment pays dividends on projects with 10+ pages or ongoing maintenance requirements. For comprehensive design system implementation strategies, see our design system workflow guide.
Converting Complex Animations
Figma’s Smart Animate and prototype animations don’t directly convert to web animations. You’ll need to recreate these in Elementor or with custom code.
For entrance animations (fade in, slide up, scale in), use Elementor’s Motion Effects panel. Configure trigger, animation type, and timing to match Figma prototype behavior.
For scroll-triggered animations, Elementor Pro’s Scroll Effects provide parallax, transparency changes, and position adjustments tied to scroll position.
For complex sequences (multiple elements animating in coordination), consider these options:
- Elementor’s Animation Delay: Stagger entrance animations using the delay field
- LottieFiles integration: Export complex Figma animations as Lottie JSON, import into Elementor with the Lottie widget
- Custom JavaScript: For maximum control, write GSAP animations in Elementor’s Custom Code section
Animation conversion often requires creative problem-solving. What works in a Figma prototype may need reimagining for web performance and browser compatibility.
Multi-Language and RTL Considerations
For sites requiring multiple languages or right-to-left (RTL) support, plan your conversion carefully.
String externalization: Avoid hardcoding text in Elementor. Use dynamic tags connected to translatable content, whether through WPML, Polylang, or WordPress’s native internationalization.
RTL-ready layouts: Build with CSS Logical Properties in mind. Use start and end instead of left and right in your mental model. Elementor handles RTL switching, but your layout choices affect how gracefully it adapts.
Font considerations: Ensure typography choices include glyphs for target languages. Arabic, Hebrew, and CJK languages require specific font selections.
Troubleshooting Common Conversion Issues
Even with optimal workflows, issues arise. These solutions address the most frequent problems.
Font Rendering Differences
Problem: Text looks different in Elementor than in Figma, despite identical settings.
Causes and solutions:
- Browser vs. design tool rendering: Web browsers use different anti-aliasing. Accept minor differences or adjust font-weight slightly (e.g., 500 instead of 400).
- Font subsetting: Some font services subset fonts for performance. Verify all needed weights are loaded.
- Line-height calculation: Figma uses absolute pixel values; Elementor often uses relative units. Convert carefully.
Spacing Inconsistencies
Problem: Padding and margins don’t match Figma specifications.
Causes and solutions:
- Box model differences: Figma’s frame padding is inside the frame; check Elementor container settings match.
- Margin collapse: CSS margin collapse doesn’t exist in Figma. Adjacent margins in Elementor may combine unexpectedly.
- Gap vs. margin: Auto-layout gap applies between items only; Elementor’s container gap works similarly, but margin adds space outside elements.
Color Mismatches
Problem: Colors appear different on the live site.
Causes and solutions:
- Color profile differences: Figma uses sRGB; some monitors display in different color spaces. This is often perception, not actual difference.
- Transparency rendering: Semi-transparent colors over complex backgrounds may compute differently. Use Figma’s “Flatten” to see the computed color, then apply that solid value.
- Gradient interpolation: CSS gradient algorithms differ from Figma’s. For critical gradients, export as images.
Responsive Breakpoint Misalignment
Problem: Tablet or mobile layouts break unexpectedly.
Causes and solutions:
- Breakpoint mismatch: Figma frames at 768px may not align with Elementor’s 1024px tablet breakpoint. Adjust Elementor’s breakpoints in Site Settings, or adapt designs to Elementor’s defaults.
- Font size cascade: Elementor inherits from larger breakpoints. If you only set desktop sizes, mobile inherits those. Explicitly set each breakpoint.
- Container width conflicts: Full-width containers with inner content containers sometimes conflict. Check boxed vs. full-width settings at each breakpoint.
Measuring Conversion Success
How do you know your conversion succeeded? These metrics provide objective evaluation.
Visual Fidelity Score
Compare original Figma design with live Elementor output using overlay tools. Differences should be minimal and intentional.
Acceptable differences:
- Slight font rendering variations
- Minor anti-aliasing differences on diagonal lines
- Browser-specific scrollbar appearances
Unacceptable differences:
- Wrong colors, fonts, or spacing
- Missing elements or incorrect hierarchy
- Broken layouts at any breakpoint
Performance Benchmarks
Converted pages should load quickly. Target these Core Web Vitals:
| Metric | Good | Needs Improvement | Poor |
|---|---|---|---|
| LCP (Largest Contentful Paint) | < 2.5s | 2.5-4.0s | > 4.0s |
| FID (First Input Delay) | < 100ms | 100-300ms | > 300ms |
| CLS (Cumulative Layout Shift) | < 0.1 | 0.1-0.25 | > 0.25 |
Poor conversion often creates bloated DOM structures that hurt performance. Audit using Chrome DevTools Lighthouse or PageSpeed Insights.
Accessibility Compliance
Run automated accessibility checks with tools like WAVE or axe DevTools. Conversion should maintain or improve accessibility:
- Proper heading hierarchy (H1 → H2 → H3, no skipping)
- Alt text on all images
- Sufficient color contrast (4.5:1 for normal text)
- Keyboard-navigable interactive elements
- Focus indicators visible
Workflow Integration and Team Scaling
Individual conversion skills must integrate into team workflows for agencies and larger organizations.
Design Handoff Best Practices
Establish clear handoff protocols between designers and developers:
- Finalize before handoff: No design changes after handoff without formal change requests
- Document interactions: Link to prototype or annotate interactive behaviors
- Provide assets: Export and deliver all required images, icons, and fonts
- Specify breakpoints: Note which Figma frames represent which device sizes
- Flag complexity: Identify animations, interactions, or elements requiring special attention
Clear handoff reduces conversion rework by 30-50% in our experience.
Quality Assurance Checklists
Create standard QA checklists for your team:
Pre-conversion checklist:
- Design finalized and approved
- All assets exported and optimized
- Responsive frames provided or requirements documented
- Interactive specifications complete
- Accessibility requirements noted
Post-conversion checklist:
- Visual comparison completed (desktop, tablet, mobile)
- All links functional
- Forms tested and submitting correctly
- Performance audit passed
- Accessibility audit passed
- Cross-browser testing completed
Version Control Considerations
Track Elementor templates and page configurations in version control:
- Export templates regularly: Elementor templates export as JSON; commit these to your repository
- Document template relationships: Note which templates build which pages
- Maintain a changelog: Record significant changes to templates or global styles
For teams managing multiple client sites, Elementor’s template management strategies can dramatically improve efficiency.
Future of Figma to Elementor Workflows
The design-to-development pipeline continues evolving. Stay ahead of these trends:
AI-Powered Conversion
Machine learning models increasingly understand design intent, not just visual properties. Future tools will:
- Suggest Elementor widget configurations based on design patterns
- Auto-generate responsive breakpoints from desktop-only designs
- Infer interaction behaviors from component naming and structure
- Optimize performance automatically during conversion
Tighter Platform Integration
Figma and WordPress ecosystems continue building bridges. Watch for:
- Native export plugins with deeper Elementor integration
- Real-time sync between Figma components and Elementor templates
- Design token standards that work across both platforms
- Collaborative features allowing designers and developers to work simultaneously
Standards Evolution
Web standards affect conversion capabilities. CSS Container Queries, already gaining browser support, will change responsive design approaches. Subgrid adoption will simplify complex layout conversions. These advances will make accurate conversion easier over time.
Taking Action: Your Next Steps
You now understand the complete Figma to Elementor conversion landscape. Here’s how to apply this knowledge:
For your next project:
- Evaluate which approach fits (manual, export-adapt, or automated)
- Set up design tokens and Global Styles before building
- Build mobile-first responsive settings
- Run quality assurance checklist before delivery
For workflow optimization:
- Document your current process and measure time spent
- Identify bottlenecks (asset export? responsive adjustments? client revisions?)
- Test automation tools on a non-critical project
- Calculate ROI of time savings vs. tool costs
For team scaling:
- Standardize handoff documentation
- Create reusable template libraries
- Establish QA protocols
- Train team members on chosen tools and methods
The gap between Figma design and Elementor implementation continues shrinking. With the right approach, what once took days now takes hours—or minutes. Your beautiful designs deserve to become beautiful websites, without the conversion headache.
Related Articles
- Getting Started with Figmentor
- Elementor Responsive Design Best Practices
- Design Systems in Elementor: Complete Framework
- Elementor Template Management for Agencies
- Optimizing WordPress Performance for Converted Sites
- Figma Export Settings for Web Development
- Elementor Container vs Section: When to Use Each
- Automating Design-to-Development Workflows
- WordPress Accessibility Compliance Guide
- Figma Components to Elementor Templates
- Mobile-First Design in Elementor
- Elementor Global Styles Configuration
- Reducing WordPress Page Load Time
- Cross-Browser Testing for WordPress Sites
- Design Handoff Documentation Best Practices


