
The big question
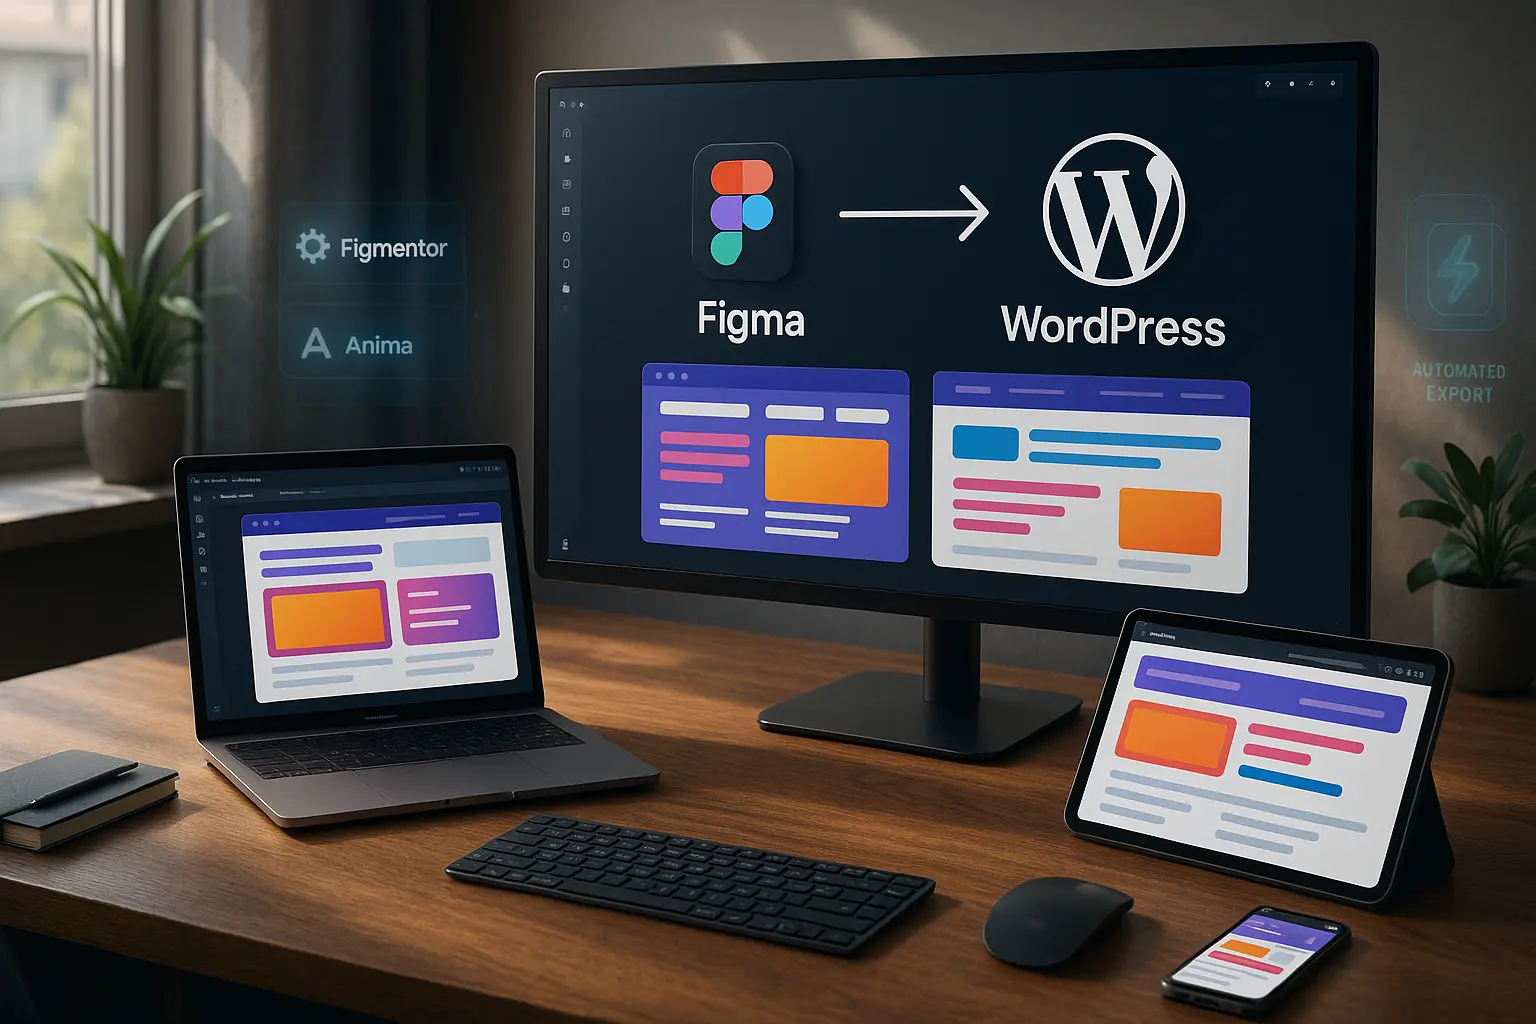
You’ve spent hours (or days) perfecting your website design in Figma, every pixel aligned, every interaction smooth, and every color on-brand. But now comes the hard part: turning that prototype into a real, functional WordPress website.
If you’ve ever struggled with: ✅ Manual coding (or hiring expensive developers) ✅ Broken layouts when exporting from Figma ✅ Slow, clunky workflows that delay client deliveries …this Figma to WordPress tutorial is for you.
In this guide, we’ll walk you through three foolproof methods to convert your Figma design into a WordPress site, without writing a single line of code. Whether you’re a freelancer, agency owner, or startup marketer, you’ll learn how to export, import, and publish your design in record time.
Bonus: We’ll also reveal pro tips to avoid common pitfalls (like responsive design breaks and slow-loading pages) and introduce automation tools that cut your workflow time by 70%.
Let’s get started.
Why Convert Figma to WordPress? (And Why It’s Easier Than You Think)
Before diving into the how, let’s cover the why.
1. WordPress Powers 43% of All Websites (2025 Data)
Source: W3Techs That’s nearly half the internet, meaning clients expect WordPress compatibility. If you’re designing in Figma, WordPress is the most logical next step for scalability, SEO, and ease of updates.
2. No-Code Tools Have Eliminated the Need for Manual Development
Gone are the days of hand-coding every element. Modern Figma to WordPress plugins (like Figmentor) automate 90% of the conversion process, preserving: ✔ Pixel-perfect accuracy ✔ Responsive breakpoints ✔ Interactive elements (buttons, forms, animations)
3. Faster Client Deliveries = Higher Profits
Agencies using automated Figma-to-WordPress workflows report: 50% faster project completion (from weeks to days) 30% higher profit margins (less dev time = more clients) Fewer revision cycles (what you design in Figma is what you get in WordPress)
Pro Tip: If you’re still manually converting designs, you’re leaving money on the table. (We’ll show you how to fix that.)
Method 1: Manual Conversion (For Full Control, But Time-Consuming)
Best for: Developers or designers who need custom functionality and don’t mind coding.
Step 1: Prepare Your Figma File for Export
Before exporting, optimize your design for WordPress: ✅ Use Auto Layout (for responsive containers) ✅ Name layers clearly (e.g., “Header-Button-CTA” instead of “Rectangle 42”) ✅ Set up breakpoints (Desktop: 1440px, Tablet: 768px, Mobile: 375px) ✅ Export assets (PNG/SVG for logos, icons, illustrations)
Why this matters: Poorly structured Figma files lead to broken WordPress layouts. (We’ve seen designers waste 10+ hours fixing avoidable mistakes.)
Step 2: Export Assets from Figma
- Select all elements (or frames) you need.
- Click “Export” in the right panel.
- Choose PNG (for images) or SVG (for icons/logos).
- Select 1x, 2x, or 3x for retina displays.
Step 3: Set Up WordPress & Elementor
- Install WordPress (use a host like SiteGround or Kinsta).
- Install Elementor Pro (the best drag-and-drop builder for WordPress).
- Create a new page and open it in Elementor Editor.
Step 4: Rebuild Your Design in Elementor
This is where the real work begins. You’ll need to:
- Drag and drop widgets (sections, columns, buttons, etc.)
- Match fonts, colors, and spacing from Figma
- Add interactions (hover effects, animations)
Time Estimate: 8–20 hours (depending on complexity)
⚠️ Common Pitfalls:
- Misaligned elements (use Elementor’s snapping feature)
- Font mismatches (upload custom fonts via Elementor Custom Fonts)
- Slow loading (optimize images with ShortPixel)
Alternative: If this sounds tedious, skip to Method 2 or 3 for faster, automated solutions.
Method 2: Semi-Automated Conversion (Using Plugins Like Figmentor)
Best for: Designers who want speed + accuracy without full manual work.
Why Use a Plugin?
✅ 90% faster than manual conversion ✅ Pixel-perfect (no guesswork) ✅ No coding required
Step 1: Install Figmentor (The #1 Figma-to-WordPress Plugin)
- Go to Plugins → Add New in WordPress.
- Search for Figmentor and install.
- Activate the plugin and connect your Figma account.
Step 2: Select Your Figma Frame to Export
- Open your Figma file in the Figmentor dashboard.
- Choose the frame/page you want to convert.
- Click “Export to WordPress.”
Step 3: Customize in Elementor (Optional)
Figmentor automatically generates Elementor templates, but you can:
- Tweak spacing, colors, or fonts
- Add dynamic content (for blogs, portfolios)
- Optimize for SEO (meta titles, alt text)
Time Estimate: 5–30 minutes (vs. hours manually)
🔥 Pro Tip: Use Figmentor’s AI-powered suggestions to fix responsive issues automatically.
Step 4: Publish Your Page
Hit “Publish,” and your Figma design is now a live WordPress page!
Case Study: Agencies using Figmentor report saving 10+ hours per project. (See how)
Method 3: Fully Automated Conversion (AI-Powered in 2025)
Best for: Agencies and freelancers who need lightning-fast turnaround.
How AI Changes the Game
New AI-driven tools (like Figmentor’s Auto-Export) now: ✔ Detect design patterns (headers, footers, CTAs) ✔ Auto-generate WordPress-ready code ✔ Optimize for performance (lazy loading, CSS minification)
Step 1: Upload Your Figma File to an AI Tool
- Go to Figmentor’s AI Export.
- Drag and drop your Figma file.
- Select “WordPress + Elementor” as the output.
Step 2: Let AI Do the Heavy Lifting
The tool will:
- Analyze your design (colors, typography, layout)
- Generate clean Elementor templates
- Optimize for mobile & desktop
Time Estimate: Under 5 minutes
Step 3: Import into WordPress
- Download the Elementor JSON file.
- In WordPress, go to Templates → Import.
- Upload and publish instantly.
🚀 Future-Proofing: By 2025, 78% of design-to-code workflows will use AI. (Source: Gartner)
Pro Tips to Avoid Common Figma-to-WordPress Mistakes
Even with the best tools, small errors can break your site. Here’s how to prevent them:
1. Responsive Design Fails
Problem: Your Figma design looks great on desktop but breaks on mobile. Fix:
- Use Figma’s Auto Layout for flexible containers.
- Test in Elementor’s responsive mode before publishing.
2. Slow Loading Speeds
Problem: High-res images and unoptimized code kill performance. Fix:
- Compress images with ShortPixel.
- Use Figmentor’s optimized code output (no bloat).
3. Font & Color Mismatches
Problem: WordPress doesn’t match your Figma typography. Fix:
- Upload custom fonts via Elementor.
- Use global colors in Figma for consistency.
4. Broken Interactions (Hover Effects, Animations)
Problem: Your Figma prototype has smooth animations, but WordPress doesn’t. Fix:
- Use Elementor’s motion effects.
- For advanced interactions, try LottieFiles.
📌 Expert Insight:
“The biggest mistake designers make is assuming ‘what works in Figma will work in WordPress.’ Always test interactions early.” , Sarah Chen, Lead Designer at WebFlow Agency
FAQ: Your Figma to WordPress Questions Answered
1. Can I convert Figma to WordPress for free?
Yes! You can use manual methods (Method 1) or free plugins like Anima, but they lack pixel-perfect accuracy. For professional results, tools like Figmentor (starting at $19/month) are worth the investment.
2. Does Figma to WordPress work with Elementor?
Absolutely. Most automation tools (including Figmentor) export directly to Elementor templates, making it the fastest workflow for WordPress designers.
3. How do I ensure my WordPress site matches Figma exactly?
- Use Figmentor’s 1:1 export (no manual adjustments needed).
- Check spacing, fonts, and colors in Elementor’s preview mode.
- Test on multiple devices before launch.
4. Can I convert a multi-page Figma prototype to WordPress?
Yes! Tools like Figmentor let you export entire Figma projects (homepage, blog, contact page) in one click.
5. What’s the fastest way to convert Figma to WordPress in 2025?
AI-powered tools (like Figmentor’s Auto-Export) now do it in under 5 minutes with 99% accuracy.
Final Thoughts: Which Method Should You Choose?
| Method | Best For | Time Required | Accuracy | Cost |
|---|---|---|---|---|
| Manual | Developers, custom builds | 8–20 hours | ⭐⭐⭐⭐ | Free |
| Semi-Automated (Figmentor) | Designers, agencies | 5–30 mins | ⭐⭐⭐⭐⭐ | $19+/mo |
| Fully Automated (AI) | Fast turnaround, scaling | <5 mins | ⭐⭐⭐⭐⭐ | $29+/mo |
Our Recommendation:
- If you’re a freelancer or small agency, Figmentor’s semi-automated workflow (Method 2) gives the best balance of speed and control.
- If you’re scaling an agency, AI automation (Method 3) will save you 100+ hours/year.
Ready to Convert Your Figma Design to WordPress?
Stop wasting time on manual conversions and broken layouts. With Figmentor, you can: ✅ Export Figma to WordPress in minutes (not hours) ✅ Keep 100% design accuracy (no dev handoffs) ✅ Scale your client work (without hiring developers)