Introduction
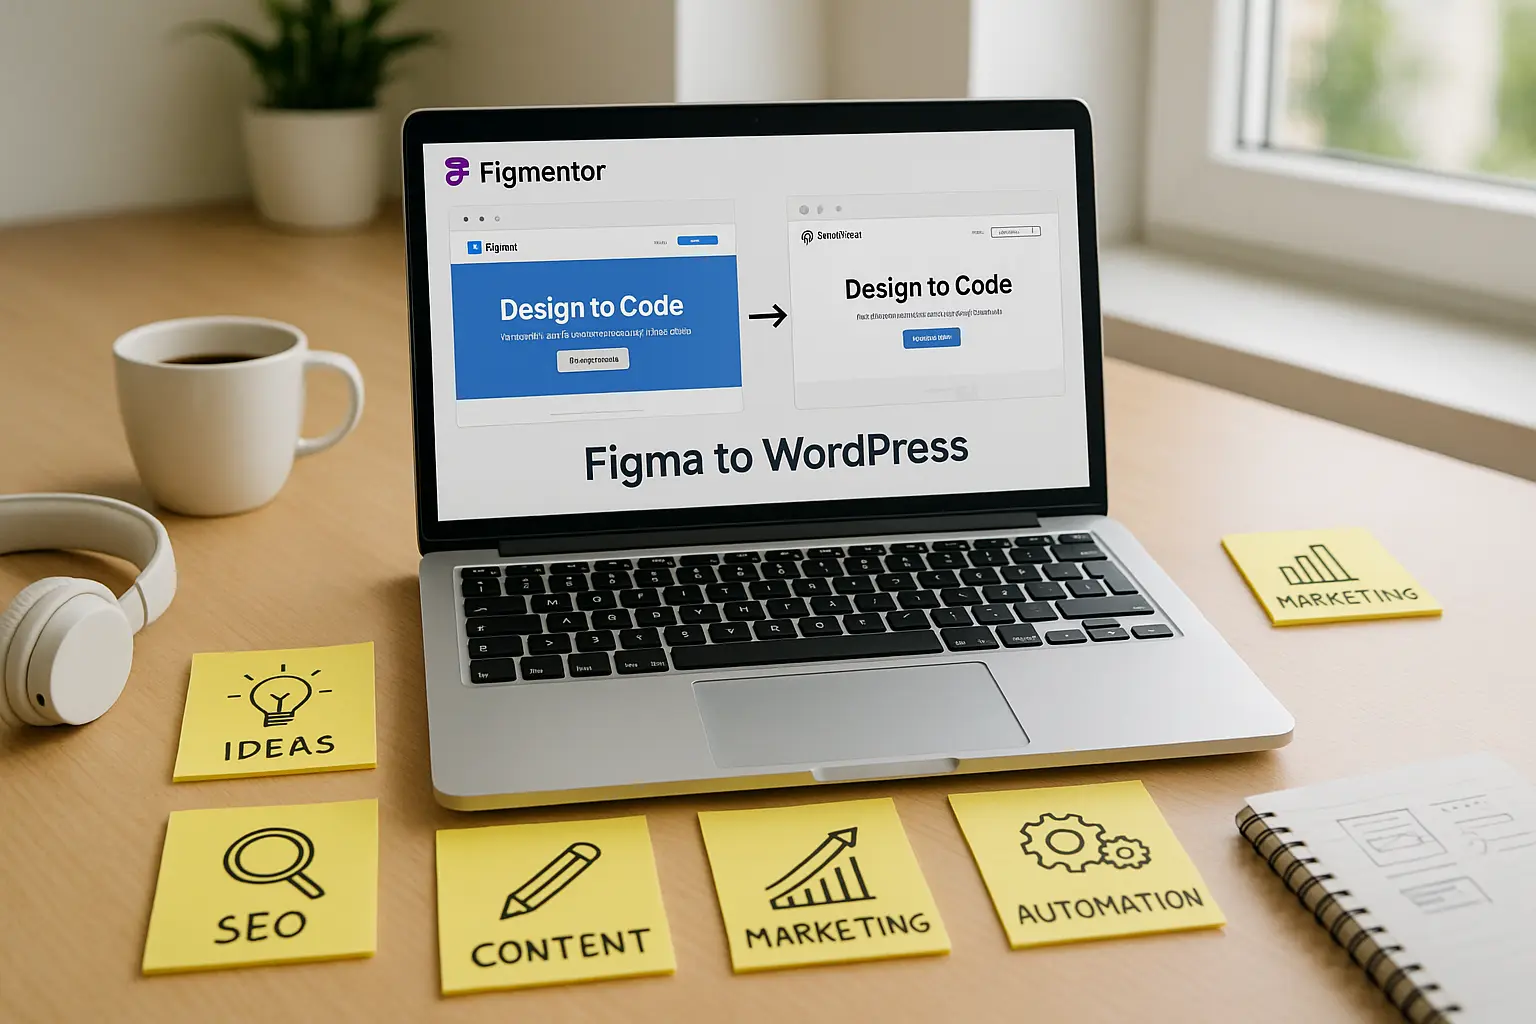
Designing in Figma and building in WordPress with Elementor is a powerful workflow, but manually recreating designs can be time-consuming. Enter Figmentor-a game-changing plugin that bridges the gap between Figma and Elementor, allowing you to convert Figma designs into fully functional Elementor pages in minutes.
In this step-by-step Figmentor tutorial, we’ll walk you through: ✅ How to install and set up Figmentor ✅ Exporting Figma designs for WordPress ✅ Converting Figma to Elementor with precision ✅ Optimizing the final output for performance
Whether you’re a freelance designer, agency, or WordPress developer, this guide will help you streamline your workflow, save time, and eliminate manual errors.
What is Figmentor?
Figmentor is a Figma to WordPress plugin that automates the conversion of Figma designs into Elementor-compatible pages. Instead of manually rebuilding designs in WordPress, Figmentor preserves layouts, styles, and interactions, making the transition seamless.
Key Benefits of Using Figmentor
✔ Saves Hours of Development Time – No more manual recreation of designs. ✔ Preserves Design Fidelity – Maintains fonts, colors, spacing, and responsiveness. ✔ Works with Elementor – Directly imports designs into Elementor’s drag-and-drop editor. ✔ Reduces Errors – Eliminates human mistakes in design-to-code conversion. ✔ Boosts Productivity – Ideal for agencies, freelancers, and no-code builders.
Step 1: Installing Figmentor
Before converting Figma to Elementor, you need to install the Figmentor plugin on your WordPress site.
How to Install Figmentor
- Log in to your WordPress dashboard.
- Navigate to Plugins → Add New.
- Search for “Figmentor” in the WordPress plugin repository.
- Click Install Now and then Activate.
- Once activated, you’ll find Figmentor in your WordPress admin menu.
Pro Tip: Ensure you have Elementor Pro installed, as Figmentor works best with Elementor’s advanced features.
Step 2: Preparing Your Figma Design for Export
For a smooth conversion, your Figma design should be well-structured and optimized for WordPress.
Best Practices for Figma-to-Elementor Conversion
✅ Use Auto Layout – Ensures proper spacing and responsiveness. ✅ Name Layers Clearly – Helps Figmentor map elements correctly. ✅ Avoid Complex Effects – Some Figma effects may not translate perfectly. ✅ Use Standard Fonts – Stick to web-safe fonts for consistency. ✅ Group Related Elements – Makes the export process cleaner.
Exporting from Figma
- Open your Figma design.
- Select the frames or sections you want to export.
- Go to File → Export and choose JSON format (Figmentor’s preferred format).
- Save the file to your computer.
Step 3: Importing Figma Design into Figmentor
Now that your Figma design is ready, let’s import it into Figmentor.
Uploading the Figma File
- In WordPress, go to Figmentor → Import Design.
- Click Upload File and select your exported JSON file.
- Figmentor will analyze and process your design.
Mapping Elements to Elementor
Figmentor will automatically map Figma layers to Elementor widgets. You can:
- Preview the conversion before finalizing.
- Adjust mappings if needed (e.g., changing a button style).
- Select which pages/sections to import.
Step 4: Converting Figma to Elementor
Once the design is processed, Figmentor will generate an Elementor template.
Finalizing the Conversion
- Click Generate Elementor Page.
- Figmentor will create a new draft page in WordPress.
- Open the page in Elementor Editor to review.
Reviewing & Editing in Elementor
- Check for responsiveness (mobile, tablet, desktop).
- Adjust spacing, fonts, or colors if needed.
- Test interactive elements (buttons, forms, animations).
Pro Tip: Use Elementor’s Theme Builder to ensure global styles match your Figma design.
Step 5: Publishing Your Elementor Page
After reviewing, you’re ready to publish your page.
Final Checks Before Publishing
✔ Cross-browser testing (Chrome, Firefox, Safari). ✔ Performance optimization (compress images, lazy load). ✔ SEO optimization (meta tags, alt text, schema markup).
Once satisfied, click Publish in Elementor.
Advanced Tips for Better Figmentor Results
1. Optimizing for Performance
- Compress images before importing.
- Use SVG icons instead of PNG for scalability.
- Minimize custom CSS to reduce load time.
2. Handling Complex Animations
- Some Figma animations may not transfer perfectly.
- Use Elementor’s native animations for smoother transitions.
3. Using Figmentor for Templates
- Export reusable Figma components as Elementor templates.
- Great for agencies selling templates on ThemeForest or Creative Market.
Common Issues & Troubleshooting
1. Design Misalignment
- Cause: Incorrect layer naming or auto-layout issues.
- Fix: Re-export Figma with proper layer structure.
2. Missing Fonts
- Cause: Non-web-safe fonts used in Figma.
- Fix: Replace with Google Fonts or system fonts.
3. Broken Interactions
- Cause: Complex hover effects not supported.
- Fix: Recreate interactions in Elementor.
FAQs
1. Does Figmentor work with Elementor Free?
No, Figmentor requires Elementor Pro for full functionality.
2. Can I edit the design after importing?
Yes! Figmentor generates an editable Elementor template-you can modify it freely.
3. Does Figmentor support dynamic content?
Currently, Figmentor focuses on static design conversion, but dynamic content can be added manually in Elementor.
4. Is Figmentor compatible with all WordPress themes?
It works best with Elementor-compatible themes (e.g., Astra, Hello Elementor).
5. Can I use Figmentor for WooCommerce pages?
Yes, but you may need to manually adjust product elements in Elementor.
Conclusion
Figmentor revolutionizes the Figma-to-WordPress workflow, eliminating manual design recreation and saving hours of development time. By following this step-by-step tutorial, you can: ✔ Seamlessly convert Figma designs to Elementor ✔ Maintain design accuracy ✔ Boost productivity for agencies and freelancers
Ready to supercharge your design-to-development process? Install Figmentor today and experience the future of no-code web design!
Call to Action (CTA)
🚀 Try Figmentor Now! 👉 Download Figmentor and start converting Figma to Elementor in minutes!
Internal Links
- [Best Figma to WordPress Plugins in 2025](https://figmentor.io/blog the-best-plugin-to-convert-figma-to-wordpress-why-agencies-use-figmentor/)
- How Figmentor Saves time
- 10 Figma top best practice


