
Introduction
The journey from a Figma prototype to a fully functional WordPress site can be complex, but with the right workflow, agencies can streamline the process, reduce errors, and deliver high-quality websites faster.
Whether you’re a freelance designer, a WordPress developer, or part of a design agency, mastering this workflow ensures smoother collaboration, better client satisfaction, and improved project efficiency.
In this guide, we’ll break down the step-by-step process of converting Figma designs into WordPress sites, covering tools, best practices, and automation techniques to optimize your workflow.
Why Figma to WordPress Workflows Matter
Before diving into the process, let’s understand why this workflow is crucial for agencies and freelancers:
- Seamless Collaboration – Figma allows designers and developers to work together in real time, reducing miscommunication.
- Faster Development – A structured workflow minimizes back-and-forth revisions, speeding up the launch process.
- Consistency & Accuracy – Ensures the final WordPress site matches the prototype precisely.
- Client Satisfaction – A smooth transition from design to development improves client trust and reduces project delays.
Step 1: Preparing the Figma Prototype for Development
Before handing off the design to developers, ensure your Figma prototype is optimized for conversion:
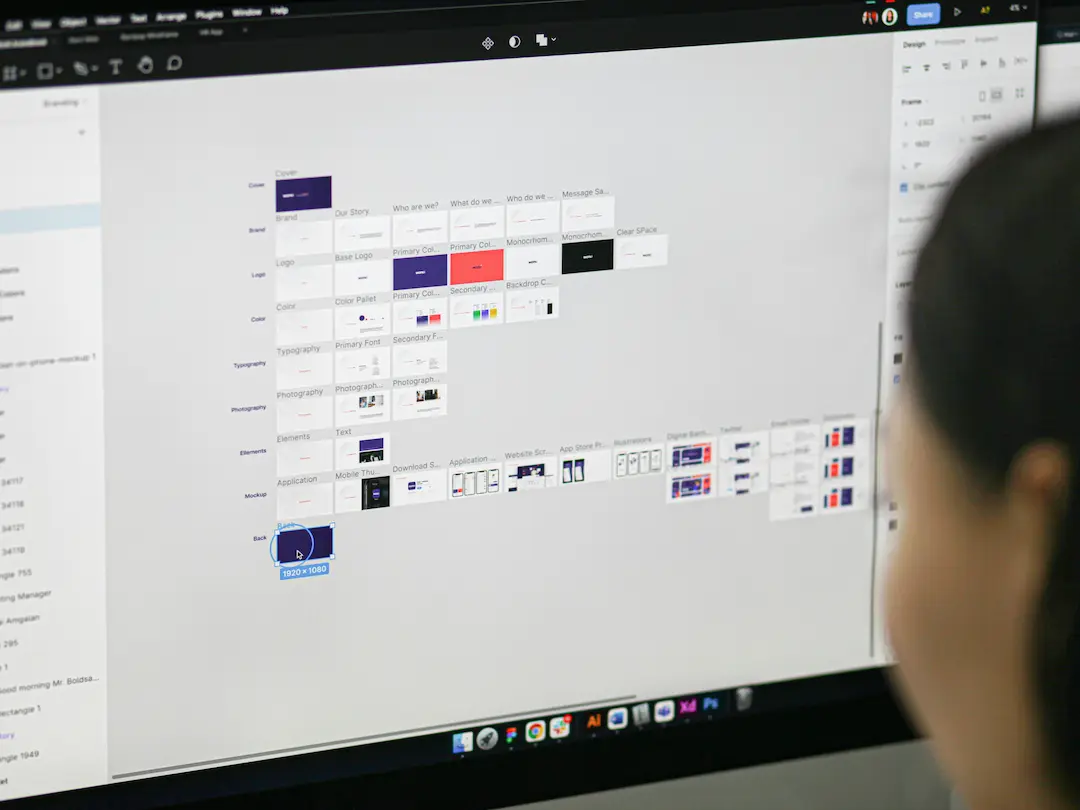
1. Organize Layers & Components
- Use auto-layout for responsive elements.
- Name layers clearly (e.g.,
Button-Primaryinstead ofLayer 5). - Group related elements (e.g., headers, footers, CTAs).
2. Define Design Tokens
- Use variables for colors, typography, and spacing to maintain consistency.
- Export assets in the correct formats (SVG for logos, PNG for images).
3. Create a Style Guide
- Document fonts, colors, and spacing in a shared style guide.
- Use Figma’s design system features to ensure uniformity.
4. Annotate for Developers
- Add comments for interactive elements (hover states, animations).
- Use Figma plugins like Anima or Figma to Code to generate developer-friendly notes.
Step 2: Choosing the Right Conversion Method
There are multiple ways to convert a Figma prototype into WordPress:
Option 1: Manual Conversion (Best for Custom Sites)
- Pros: Full control over code, better performance optimization.
- Cons: Time-consuming, requires strong coding skills.
Option 2: Using Page Builders (Elementor, Divi, Beaver Builder)
- Pros: Faster development, drag-and-drop interface.
- Cons: May add bloat, less flexibility for custom interactions.
Option 3: Automated Conversion Tools (Figma to WordPress Plugins)
- Pros: Speeds up the process, reduces manual errors.
- Cons: May require fine-tuning for pixel-perfect results.
Recommended Tools:
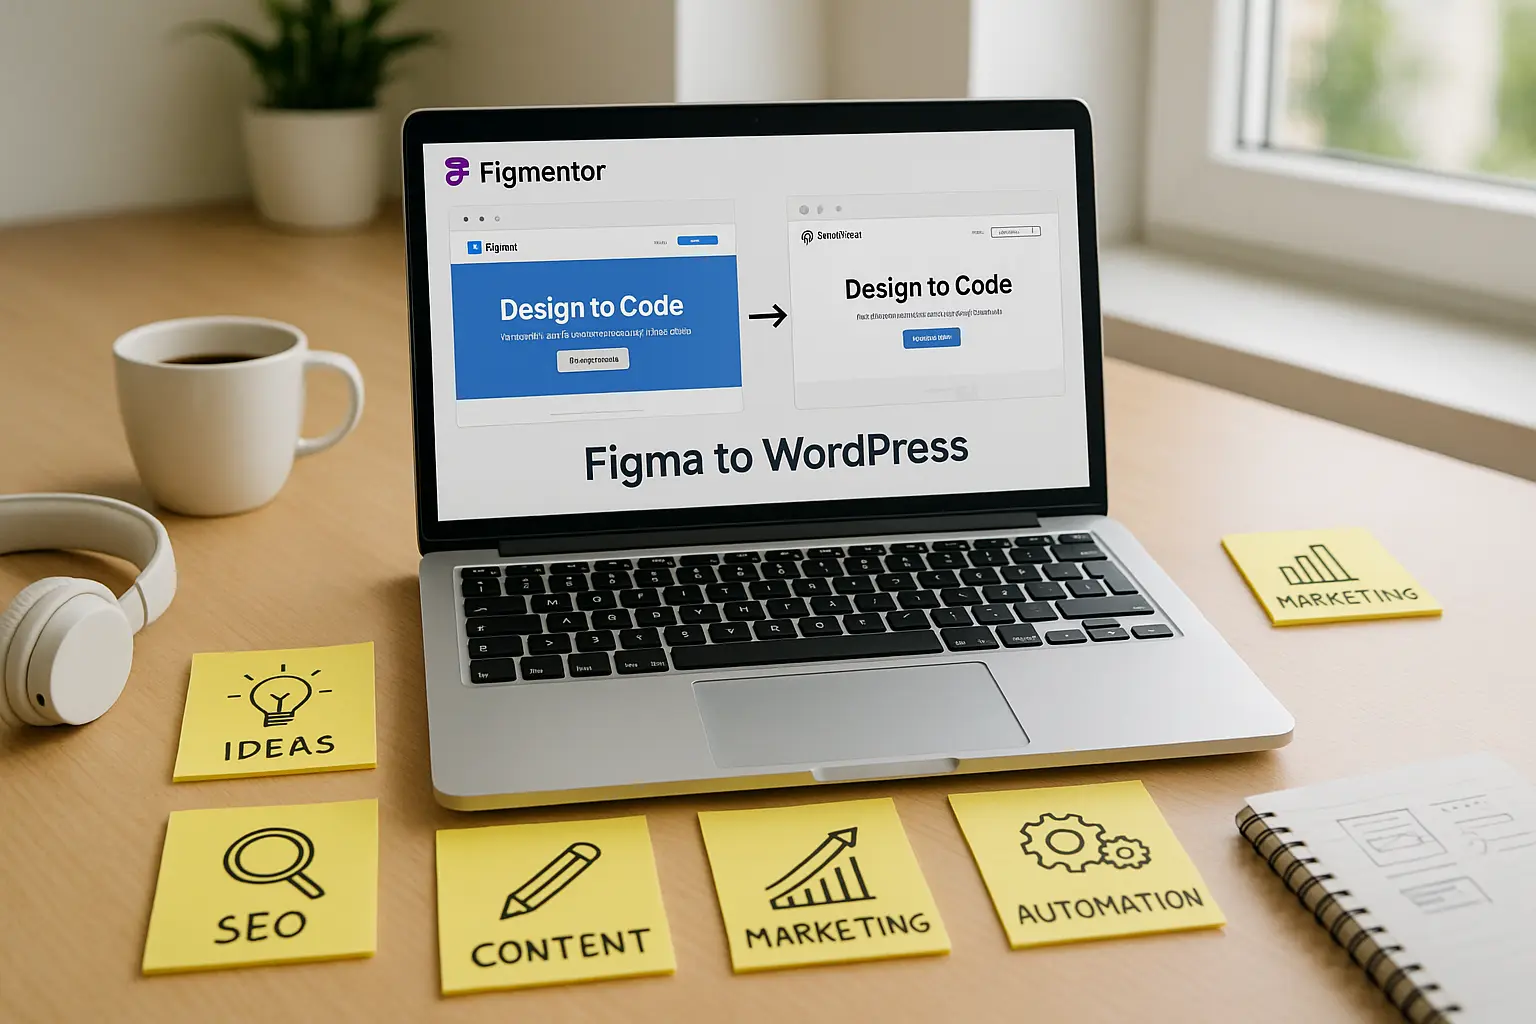
- Figmentor (Figma to Elementor converter)[https://figmentor.io/]
- Anima (Figma to WordPress plugin)[https://www.animaapp.com/]
- Relume (Figma to Webflow/WordPress)[https://www.relume.io/]
Step 3: Converting Figma to WordPress
A. Manual Conversion Workflow
- Export Assets – Download images, icons, and fonts from Figma.
- Set Up WordPress – Install a blank theme (e.g., Underscores) or a starter theme.
- Develop Custom Theme – Use HTML, CSS, and JavaScript to replicate the design.
- Implement Responsive Design – Ensure mobile and tablet compatibility.
- Test & Debug – Check cross-browser compatibility and performance.
B. Using Page Builders (Elementor Example)
- Install Elementor – Set up the plugin in WordPress.
- Import Figma Designs – Use Figmentor to convert Figma frames into Elementor templates.
- Customize in Elementor – Adjust spacing, fonts, and interactions.
- Optimize for Performance – Minimize plugin usage and optimize images.
C. Automated Conversion with Plugins
- Install a Figma to WordPress Plugin (e.g., Anima).
- Sync Figma Designs – Connect your Figma file to the plugin.
- Generate WordPress Code – The plugin converts designs into WordPress-compatible HTML/CSS.
- Fine-Tune the Output – Manually adjust any discrepancies.
Step 4: Testing & Quality Assurance
Before launching, ensure the WordPress site matches the Figma prototype:
✅ Cross-Browser Testing – Use BrowserStack or LambdaTest. ✅ Mobile Responsiveness – Test on multiple devices. ✅ Performance Optimization – Use GTmetrix or Google PageSpeed Insights. ✅ User Testing – Conduct A/B testing for key interactions.
Step 5: Launching & Post-Launch Optimization
- Deploy the Site – Use managed WordPress hosting (e.g., WP Engine, Kinsta).
- Monitor Performance – Track speed, uptime, and user engagement.
- Gather Feedback – Use heatmaps (Hotjar) and analytics (Google Analytics).
Best Practices for a Smooth Workflow
✔ Use Version Control – Track changes in Figma and WordPress. ✔ Automate Repetitive Tasks – Use Zapier or Make for workflow automation. ✔ Document Everything – Keep a shared knowledge base for future reference. ✔ Optimize for SEO – Ensure proper meta tags, schema markup, and mobile-friendliness.
Common Challenges & Solutions
| Challenge | Solution |
|---|---|
| Design inconsistencies | Use Figma’s design system features |
| Slow development process | Automate with plugins like Figmentor |
| Poor mobile responsiveness | Test early with responsive design tools |
| Performance issues | Optimize images and minimize plugins |
Conclusion
Converting a Figma prototype into a live WordPress site doesn’t have to be a daunting task. By following a structured workflow-organizing designs, choosing the right conversion method, testing rigorously, and optimizing post-launch-agencies can deliver high-quality websites efficiently.
For the best results, consider using Figmentor, a powerful tool that bridges the gap between Figma and WordPress, making the conversion process faster and more accurate.
FAQ Section
1. What is the best way to convert Figma to WordPress?
The best method depends on your needs:
- Manual coding for full control.
- Page builders (Elementor) for speed.
- Automated plugins (Figmentor, Anima) for efficiency.
2. How do I ensure my WordPress site matches the Figma design?
- Use Figma’s design tokens for consistency.
- Test responsiveness early.
- Use Figma to WordPress plugins for accuracy.
3. Can I automate the Figma to WordPress process?
Yes! Tools like Figmentor and Anima automate much of the conversion, reducing manual work.
4. What are the biggest challenges in this workflow?
Common issues include design inconsistencies, slow development, and performance bloat. Using structured workflows and automation helps mitigate these.
5. How can I optimize my WordPress site after conversion?
- Minimize plugins.
- Use caching (WP Rocket).
- Optimize images (Smush, ShortPixel).
Internal Links
- Figma to WordPress: The Ultimate Guide for Designers & Developers
- How to Export Figma Designs Straight to WordPress in 2025
- Pixel-Perfect Figma to WordPress: Convert Designs with Precision
- Best Figma Plugins for Web Designers in 2025
- Figma to Elementor: A Complete Workflow Guide
- How Designers Can Skip Developers and Build WordPress Pages
- Elementor vs. Divi: Which Page Builder is Best?
- How Much Time and Money You Save with Figmentor