
Introduction
Figma has become the go-to tool for designers worldwide, but many users only scratch the surface of its capabilities. While most designers rely on basic functionalities, Figma hidden features can significantly boost efficiency, creativity, and collaboration.
In this guide, we’ll uncover five underrated Figma hacks in 2025 that will transform your design process. Whether you’re a freelancer, agency designer, or part of a startup team, these tips will help you work smarter, not harder.
Let’s dive in!
1. Auto Layout 2.0: The Ultimate Time-Saver
Auto Layout has been a game-changer for responsive design, but Figma’s Auto Layout 2.0 takes it to the next level.
Why It’s a Hidden Gem
- Dynamic Resizing: Components automatically adjust based on content, eliminating manual resizing.
- Nested Auto Layouts: Combine multiple Auto Layouts for complex UI structures.
- Smart Spacing: Set consistent padding and margins effortlessly.
How to Use It
- Select a frame or component.
- Click the “Auto Layout” button in the right panel.
- Adjust padding, spacing, and alignment settings.
- Watch as your elements resize dynamically when content changes.
Pro Tip: Use Auto Layout for buttons, cards, and navigation menus to maintain consistency across your designs.
2. Variables: The Power of Dynamic Design
Variables in Figma allow you to create reusable design tokens, making global changes in seconds.
Why It’s a Game-Changer
- Color & Typography Consistency: Update colors and fonts across an entire project instantly.
- Design System Efficiency: Sync variables with your design system for seamless updates.
- Reduced Manual Work: No more hunting for layers to change styles individually.
How to Implement Variables
- Open the “Variables” panel from the left sidebar.
- Create a new variable (e.g.,
Primary Color). - Apply it to elements in your design.
- Update the variable once, and all linked elements change automatically.
Case Study: A 2024 study found that designers using Figma Variables reduced design iteration time by 30%.
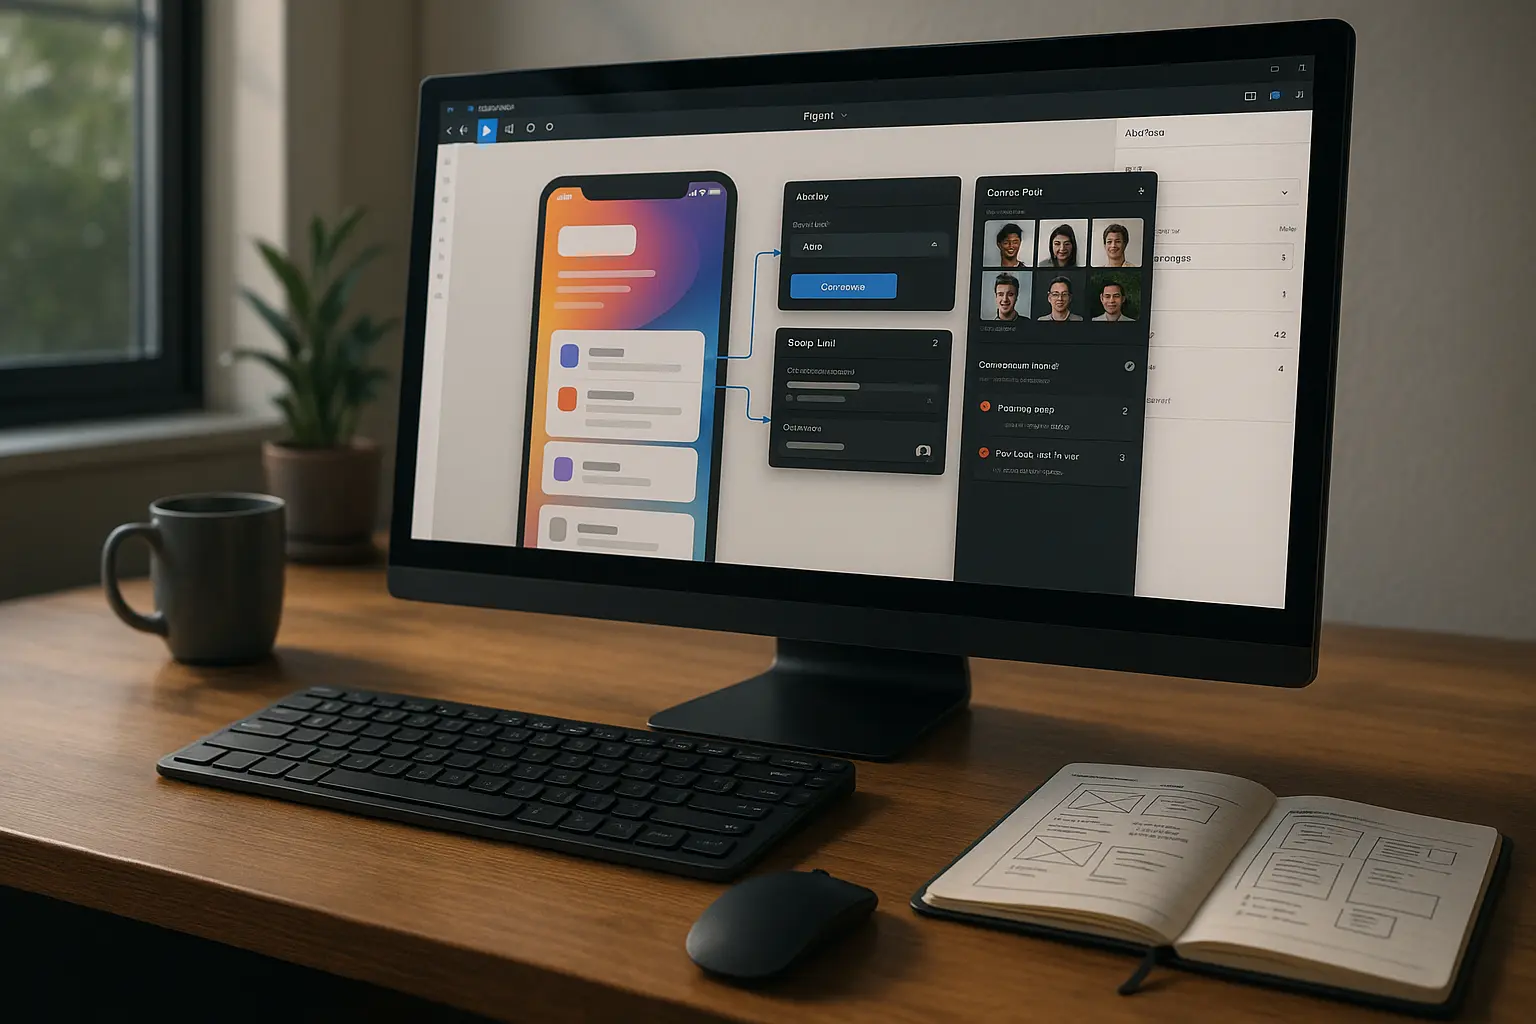
3. Advanced Prototyping with Conditional Logic
Most designers use basic prototyping, but Figma’s conditional logic allows for interactive, user-driven experiences.
Why It Stands Out
- Realistic User Flows: Simulate complex interactions without coding.
- Better Client Presentations: Showcase dynamic prototypes that respond like real apps.
- Faster Feedback Loops: Test usability early in the design process.
How to Set Up Conditional Prototyping
- Create a prototype flow.
- Add interactions with “Conditional Logic” in the prototyping panel.
- Define triggers (e.g., “If button clicked, show dropdown”).
- Preview to see dynamic responses.
Internal Link Suggestion: Learn more about designing for WordPress exports in our guide: Designing in Figma for Direct WordPress Export: A Pro Guide.
4. Smart Selection: The AI-Powered Assistant
Figma’s Smart Selection uses AI to predict and select elements intelligently.
Why It’s a Must-Know
- Faster Editing: Quickly select nested layers without manual digging.
- AI-Powered Precision: Figma suggests the most likely elements you want to edit.
- Reduced Frustration: No more accidentally selecting the wrong layer.
How to Use Smart Selection
- Hold Shift + Click on a complex frame.
- Figma highlights the most relevant elements.
- Select and edit without digging through layers.
Statistic: According to Figma’s 2025 report, Smart Selection reduces layer selection time by 40%.
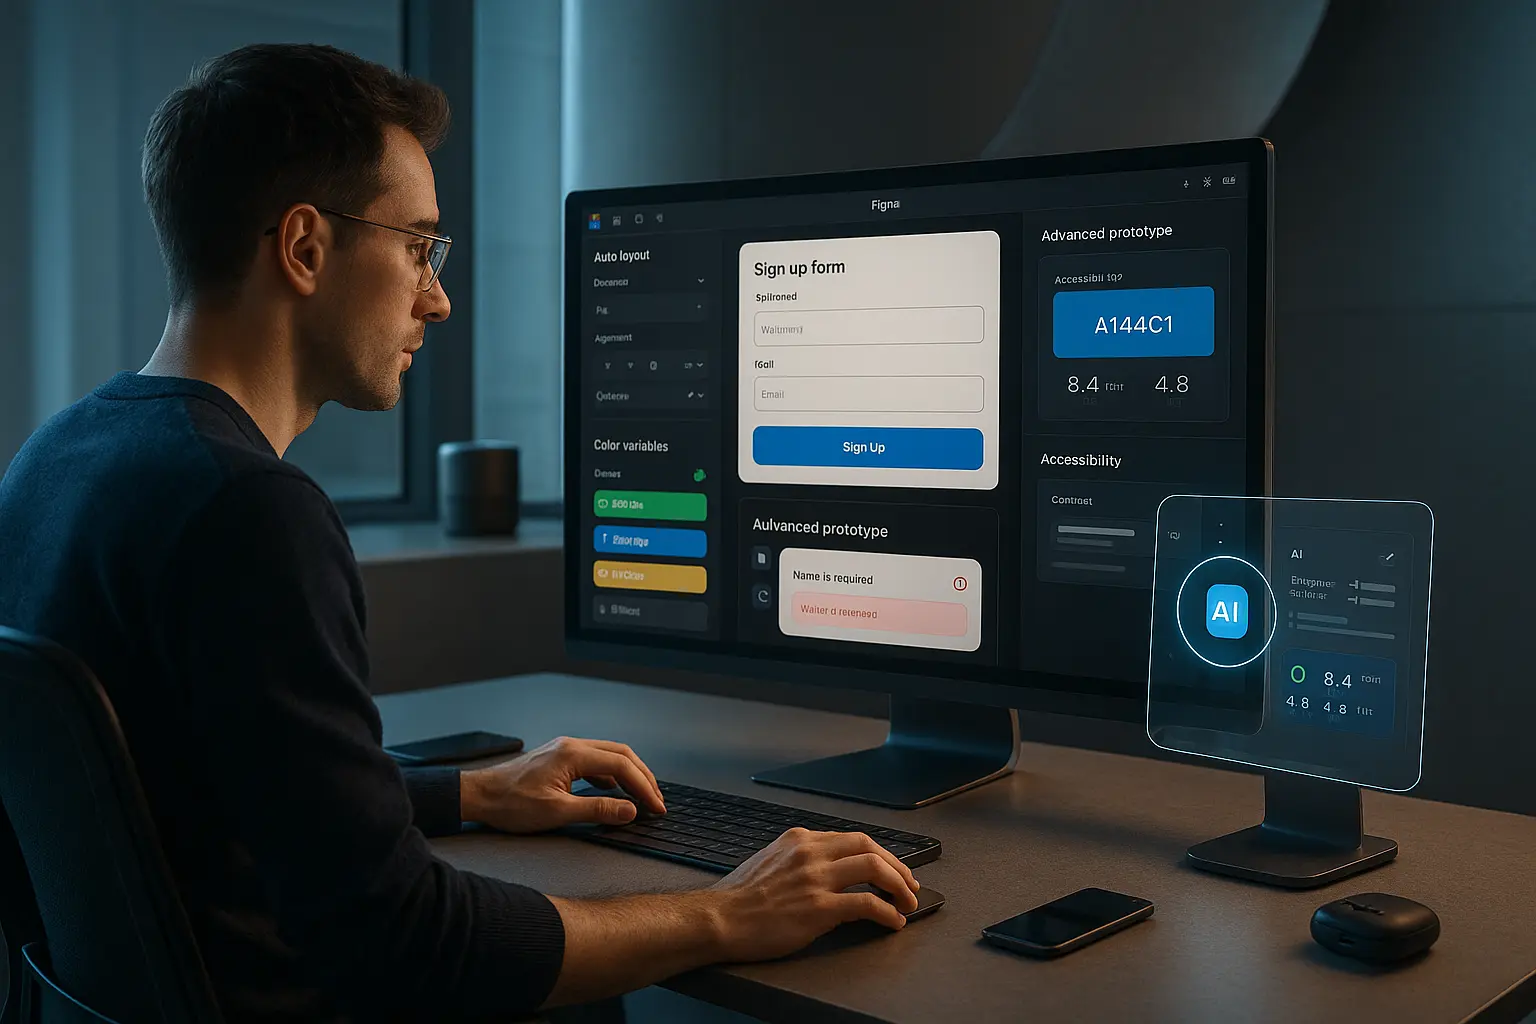
5. DeficiencyView: Accessibility Testing Made Easy
Accessibility is crucial, but many designers skip it due to complexity. DeficiencyView simplifies color contrast and accessibility checks.
Why It’s Essential
- Instant Accessibility Checks: Identify contrast issues in real time.
- WCAG Compliance: Ensure your designs meet accessibility standards.
- Better User Inclusion: Design for all users, including those with visual impairments.
How to Enable DeficiencyView
- Go to “Plugins” in the top menu.
- Search for “DeficiencyView” and install.
- Run the plugin to simulate different vision deficiencies.
- Adjust colors and contrasts accordingly.
Internal Link Suggestion: For more on accessibility, check out: Designing for Everyone: How to Test Color Accessibility with DeficiencyView.
Conclusion: Supercharge Your Figma Workflow
These hidden Figma features can drastically improve your efficiency, creativity, and collaboration. By leveraging Auto Layout 2.0, Variables, Conditional Prototyping, Smart Selection, and DeficiencyView, you’ll design faster and smarter in 2025.
Ready to take your designs to the next level? **Try Figmentor , ** and see how seamless Figma-to-WordPress workflows can be!
FAQ Section
1. What are the best Figma tips for beginners?
Start with Auto Layout for responsive designs and Variables for consistent styling. These two features alone will save hours of manual work.
2. How do I use Figma’s hidden features for faster prototyping?
Use Conditional Logic in prototyping to create dynamic user flows without coding. This is perfect for realistic client presentations.
3. Are there any AI-powered features in Figma?
Yes! Smart Selection uses AI to predict and select elements faster, reducing manual layer hunting.
4. How can I ensure my Figma designs are accessible?
Use the DeficiencyView plugin to test color contrast and simulate vision deficiencies for better accessibility compliance.
5. Can I export Figma designs directly to WordPress?
Absolutely! With Figmentor, you can convert Figma designs to WordPress in minutes without coding. Learn more here.