
Introduction
Designing in Figma and developing in Elementor is a powerful combo for web designers and developers. But manually converting Figma designs into Elementor can be time-consuming. By leveraging advanced Figma features, you can speed up your workflow, reduce errors, and ensure pixel-perfect WordPress sites.
In this guide, we’ll explore how Figma Smart Layers, Auto Layout, Components, and Plugins can supercharge your Elementor builds, making your design-to-development process smoother and more efficient.
Why Use Figma for Elementor Builds?
Before diving into advanced techniques, let’s understand why Figma is a game-changer for Elementor users:
✅ Seamless Collaboration – Figma allows real-time collaboration between designers and developers. ✅ Reusable Components – Create and reuse UI elements across multiple projects. ✅ Auto Layout & Constraints – Ensures responsive designs that adapt to different screen sizes. ✅ Smart Layers & Plugins – Automate repetitive tasks and export assets efficiently.
By mastering these features, you can cut development time in half and deliver high-quality WordPress sites faster.
Advanced Figma Features to Optimize Elementor Workflows
1. Using Smart Layers for Faster Exports
Smart Layers in Figma help automate asset generation, reducing manual work when moving designs to Elementor.
How to Use Smart Layers for Elementor:
- Batch Export Assets – Instead of exporting individual elements, use Smart Layers to export multiple assets at once.
- Layer Naming Conventions – Use clear naming (e.g.,
btn-primary,header-bg) to make imports into Elementor smoother. - SVG & PNG Optimization – Smart Layers ensure assets are exported in the right format for WordPress.
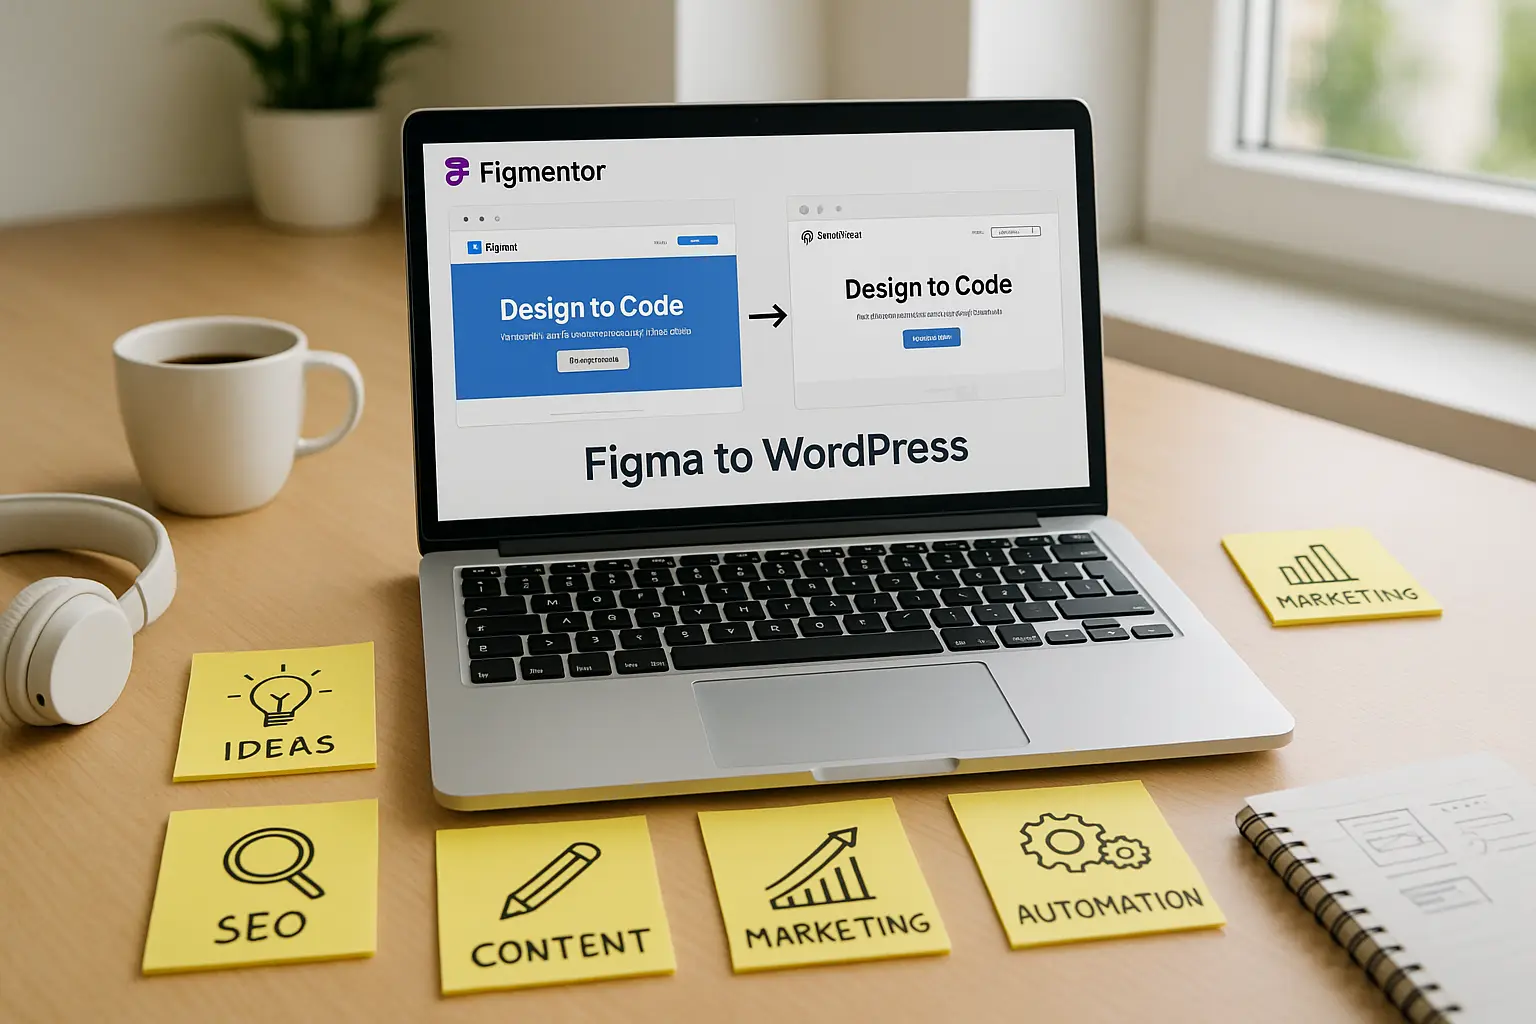
Pro Tip: Use plugins like Figma to WordPress or Figmentor to automate asset exports directly into Elementor.
2. Leveraging Auto Layout for Responsive Designs
Elementor thrives on responsive design, and Figma’s Auto Layout ensures your designs adapt seamlessly.
How Auto Layout Helps in Elementor:
- Consistent Spacing – Auto Layout maintains padding and margins, reducing manual adjustments in Elementor.
- Dynamic Resizing – Elements resize proportionally, making mobile optimization easier.
- Nested Components – Reuse Auto Layout structures across multiple pages.
Example: If you design a card component in Figma with Auto Layout, it will retain its structure when imported into Elementor, saving hours of manual adjustments.
3. Using Components & Variants for Reusable Elements
Figma’s Components and Variants allow you to create reusable UI elements, which can be directly mapped to Elementor widgets.
How to Optimize Components for Elementor:
- Global Styles – Define colors, fonts, and spacing in Figma to match Elementor’s Global Styles.
- Component Libraries – Store buttons, headers, and footers as reusable components.
- Variant Switching – Use variants for different button states (hover, active) to ensure consistency.
Pro Tip: Sync your Figma component library with Elementor’s Theme Builder for faster template creation.
4. Figma Plugins to Automate Elementor Workflows
Plugins can bridge the gap between Figma and Elementor, automating repetitive tasks.
Top Figma Plugins for Elementor Users:
- Figma to WordPress – Converts Figma designs into WordPress themes.
- Figmentor – Directly exports Figma layers into Elementor widgets.
- Content Reel – Populates designs with real content, reducing placeholder adjustments.
- Anima – Converts Figma designs into responsive HTML/CSS for Elementor.
How to Use Plugins Effectively:
- Automate Asset Exports – Use plugins to batch-export assets in the right format.
- Sync Styles – Ensure Figma styles match Elementor’s global settings.
- Generate Clean Code – Some plugins export clean HTML/CSS, reducing manual coding in Elementor.
5. Using Figma’s Dev Mode for Smoother Handoffs
Figma’s Dev Mode provides developers with precise measurements, CSS snippets, and asset details, making Elementor implementation faster.
How Dev Mode Helps Elementor Developers:
- Copy CSS Directly – Get exact spacing, colors, and typography values.
- Inspect Layers – See how elements are structured before importing.
- Export Assets in One Click – No need to manually search for assets.
Best Practice: Use Dev Mode to cross-check designs before importing into Elementor, reducing back-and-forth revisions.
Step-by-Step: From Figma to Elementor in Minutes
Here’s a streamlined workflow to convert Figma designs into Elementor quickly:
Step 1: Organize Your Figma File
- Use Frames for different pages.
- Group elements logically (e.g.,
Header,Footer,Hero Section). - Apply Auto Layout to ensure responsiveness.
Step 2: Define Components & Styles
- Create reusable components (buttons, cards, forms).
- Set up Global Styles for colors, fonts, and spacing.
Step 3: Use Smart Layers for Asset Export
- Batch-export assets (SVGs, PNGs) in the correct format.
- Use plugins like Figmentor to automate exports.
Step 4: Import into Elementor
- Use Elementor’s Theme Builder to map Figma components.
- Apply Global Styles in Elementor for consistency.
- Use Elementor’s Container feature to maintain Auto Layout structures.
Step 5: Optimize for Performance
- Compress images before importing.
- Use Elementor’s Performance Settings to minimize render-blocking.
Common Challenges & Solutions
| Challenge | Solution |
|---|---|
| Misaligned Spacing | Use Figma’s Auto Layout and Elementor’s Gap Control. |
| Inconsistent Colors/Fonts | Sync Figma’s Global Styles with Elementor’s Theme Styles. |
| Manual Asset Exports | Use Smart Layers and plugins like Figmentor. |
| Responsive Issues | Test designs in Figma’s Prototyping mode before importing. |
FAQs
1. Can I directly import Figma designs into Elementor?
Yes! Plugins like Figmentor allow direct imports, converting Figma layers into Elementor widgets.
2. How do I ensure my Figma designs look the same in Elementor?
Use Auto Layout, Global Styles, and Dev Mode to maintain consistency. Test designs in Figma’s Prototyping mode before importing.
3. What’s the best way to export assets from Figma to Elementor?
Use Smart Layers and plugins like Figma to WordPress or Figmentor for automated exports.
4. How can I speed up responsive design in Elementor?
Apply Auto Layout in Figma and use Elementor’s Container feature for flexible structures.
5. Are there any free plugins to convert Figma to Elementor?
Yes! Figmentor offers a free version with basic export functionalities.
Conclusion
By mastering advanced Figma features like Smart Layers, Auto Layout, Components, and Plugins, you can dramatically speed up your Elementor builds. Automating asset exports, syncing styles, and using Dev Mode ensures a smoother design-to-development workflow, saving time and reducing errors.
Ready to supercharge your workflow? Try Figmentor today and experience seamless Figma-to-Elementor conversions!