
Converting Figma designs to WordPress is a crucial workflow for designers, developers, and agencies looking to streamline their design-to-development process. Whether you’re a freelancer, a SaaS team, or a design agency, mastering this conversion ensures faster project delivery, better collaboration, and higher client satisfaction.
In this guide, we’ll explore:
- Why Figma to WordPress conversion is essential
- Different methods for conversion
- Best tools and plugins to automate the process
- A step-by-step guide to ensure accuracy
- Best practices and common challenges
- Performance optimization tips
By the end, you’ll have a clear roadmap to convert Figma designs into fully functional WordPress websites efficiently.
Why Convert Figma to WordPress?
Figma is a powerful design tool, but WordPress powers over 43% of all websites due to its flexibility, scalability, and ease of use. Converting Figma designs to WordPress offers several benefits:
1. Faster Development Workflow
- Eliminates manual coding, reducing development time.
- Enables designers and developers to collaborate seamlessly.
2. Maintains Design Fidelity
- Ensures pixel-perfect accuracy from Figma to WordPress.
- Preserves animations, interactions, and responsive layouts.
3. Cost-Effective for Agencies & Freelancers
- Reduces dependency on multiple tools and manual labor.
- Lowers project costs and increases profitability.
4. Scalability & Customization
- WordPress allows easy updates, plugin integrations, and theme customizations.
- Supports future growth with minimal technical debt.
5. Better Client Handoff
- Clients can manage content easily via WordPress’s intuitive dashboard.
- Reduces post-launch maintenance issues.
Methods for Converting Figma to WordPress
There are multiple ways to convert Figma designs to WordPress, each with its pros and cons.
1. Manual Conversion (Coding from Scratch)
- Pros: Full control over code, optimized performance.
- Cons: Time-consuming, requires advanced coding skills.
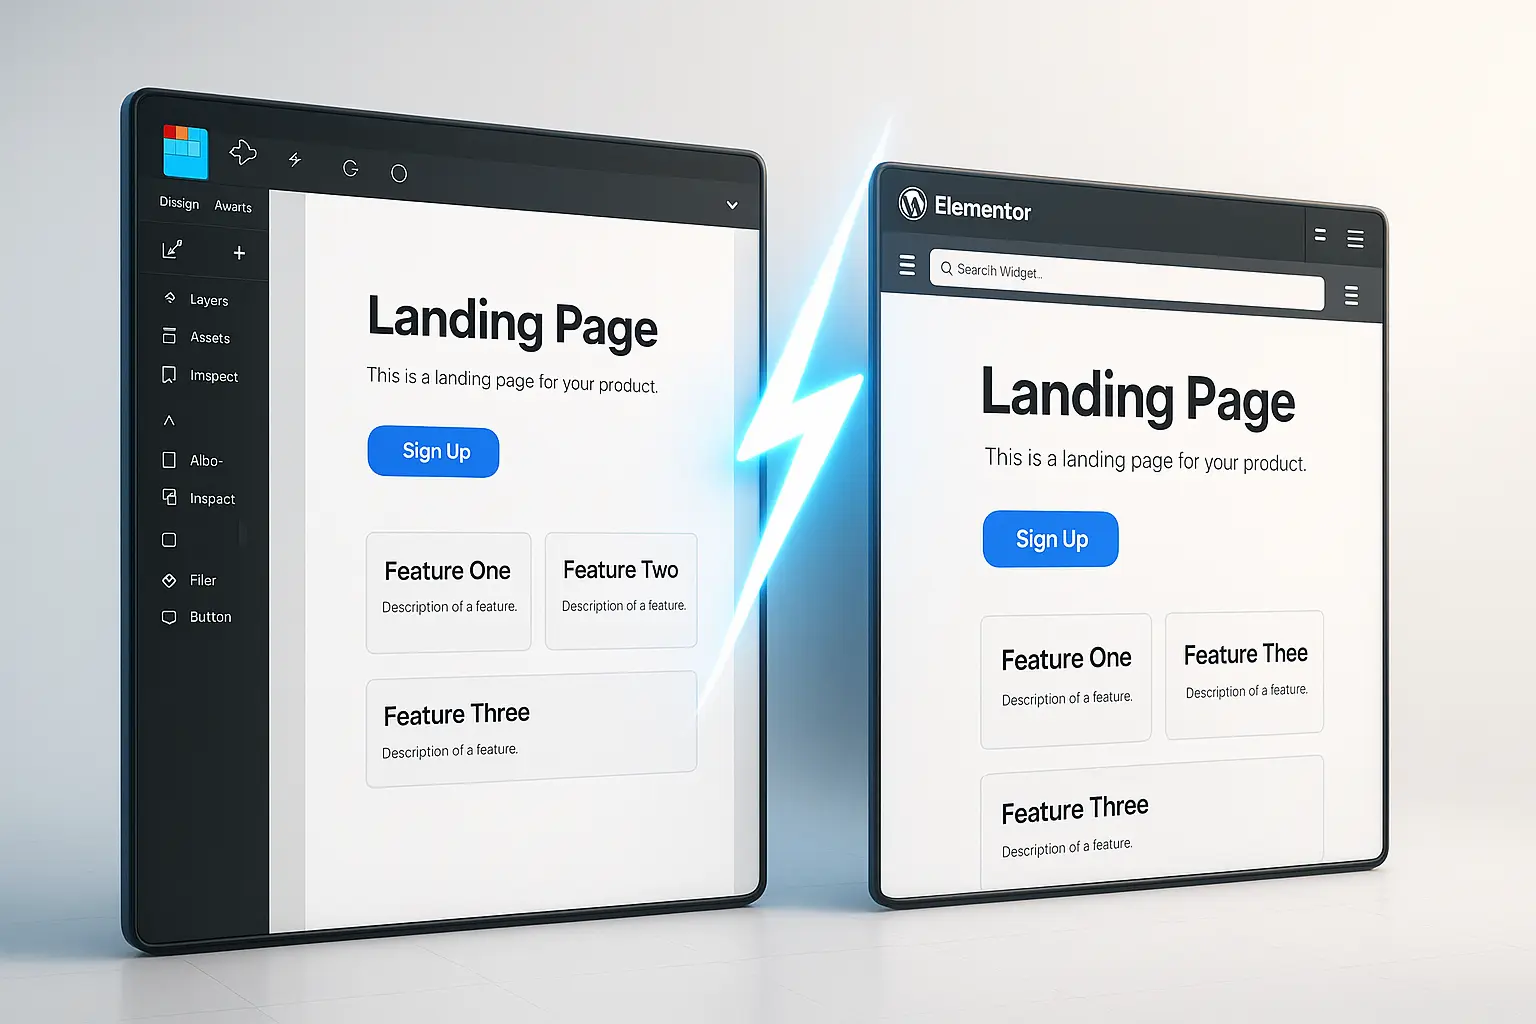
2. Using WordPress Page Builders (Elementor, Divi, Beaver Builder)
- Pros: No-code/low-code solution, drag-and-drop interface.
- Cons: May not be 100% accurate, potential bloat.
3. Automated Conversion Tools & Plugins
- Pros: Fastest method, reduces manual effort.
- Cons: May require fine-tuning for complex designs.
4. Hybrid Approach (Manual + Automation)
- Pros: Balances speed and accuracy.
- Cons: Requires some technical knowledge.
For most users, automated tools and plugins provide the best balance between speed and accuracy.
Best Tools & Plugins for Figma to WordPress Conversion
To streamline the conversion process, several tools and plugins can help:
1. Figmentor (Best for Elementor Users)
- Converts Figma designs directly into Elementor templates.
- Preserves responsive layouts, typography, and styling.
- Ideal for agencies and freelancers using WordPress + Elementor.
2. Anima (For Developers & Agencies)
- Exports Figma designs to clean, responsive HTML/CSS.
- Integrates with WordPress via custom themes.
3. Figma to WordPress Plugins (WP Figma, Figma to WP)
- Automates the conversion process with minimal manual intervention.
- Best for simple to moderately complex designs.
4. Bricks Builder (For Advanced Users)
- A visual builder that allows Figma-like design flexibility.
- Works well for custom WordPress themes.
5. Relume Library (For Design Systems)
- Provides pre-built Figma components optimized for WordPress.
- Speeds up the design-to-development workflow.
Step-by-Step Guide: Figma to WordPress Conversion
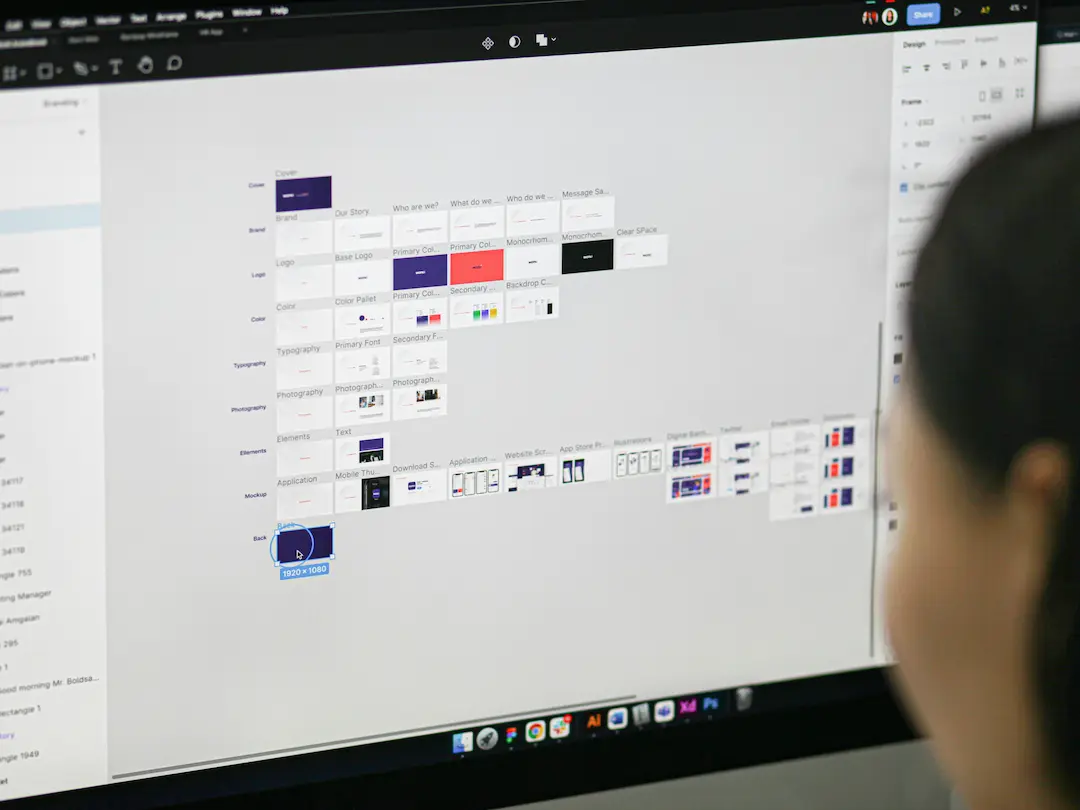
Step 1: Prepare Your Figma Design
- Ensure all layers are well-organized.
- Use auto-layout and constraints for responsiveness.
- Export assets (images, icons, fonts) in the correct format.
Step 2: Choose Your Conversion Method
- For Elementor Users: Use Figmentor to import designs directly.
- For Developers: Export HTML/CSS via Anima and integrate into WordPress.
- For No-Code Users: Use WP Figma or similar plugins.
Step 3: Convert & Import into WordPress
- If using Figmentor, simply upload your Figma file and generate an Elementor template.
- If using Anima, export the code and integrate it into a WordPress theme.
Step 4: Fine-Tune & Optimize
- Check responsiveness across devices.
- Optimize images for faster loading.
- Test interactions and animations.
Step 5: Publish & Test
- Run cross-browser testing.
- Ensure SEO best practices are applied.
- Launch and monitor performance.
Best Practices for a Smooth Conversion
1. Use Consistent Naming Conventions
- Helps in organizing layers and components.
- Makes debugging easier.
2. Optimize for Mobile-First Design
- Ensure your Figma design is responsive.
- Test on multiple screen sizes before conversion.
3. Minimize Manual Adjustments
- Use automation tools to reduce errors.
- Avoid over-customizing in WordPress post-conversion.
4. Leverage Design Systems
- Use Relume Library or similar tools for reusable components.
- Ensures consistency across projects.
5. Test Before Going Live
- Check for broken links, misaligned elements, and performance issues.
Common Challenges & How to Overcome Them
| Challenge | Solution |
|---|---|
| Responsiveness Issues | Use auto-layout in Figma and test on multiple devices. |
| Font & Typography Mismatches | Ensure fonts are web-safe or embedded correctly. |
| Broken Interactions | Use plugins like Figmentor that preserve animations. |
| Slow Loading Times | Optimize images and use caching plugins. |
| Plugin Conflicts | Test plugins in a staging environment first. |
Optimizing WordPress Performance After Conversion
After converting your Figma design to WordPress, follow these optimization tips:
1. Use a Lightweight Theme
- Avoid bloated themes that slow down your site.
2. Optimize Images
- Compress images using Smush or ShortPixel.
3. Implement Caching
- Use WP Rocket or W3 Total Cache for faster loading.
4. Minify CSS & JavaScript
- Use Autoptimize to reduce file sizes.
5. Enable Lazy Loading
- Improves page speed by loading images as users scroll.
Conclusion
Converting Figma designs to WordPress doesn’t have to be a tedious process. By leveraging the right tools-such as Figmentor-and following best practices, you can achieve a seamless transition from design to a fully functional WordPress site.
Whether you’re a freelancer, agency, or SaaS team, mastering this workflow will save time, reduce costs, and improve client satisfaction.
Ready to Streamline Your Workflow?
Try Figmentor today and convert Figma designs to WordPress in minutes!
FAQs
1. Can I convert Figma to WordPress without coding?
Yes! Tools like Figmentor and WP Figma allow no-code conversions.
2. What’s the best plugin for Figma to Elementor conversion?
Figmentor is the best plugin for converting Figma designs directly into Elementor templates.
3. How do I ensure my Figma design stays responsive in WordPress?
Use auto-layout in Figma and test responsiveness in WordPress using built-in preview tools.
4. Are there any free tools for Figma to WordPress conversion?
Some plugins offer free trials, but premium tools like Figmentor provide the best results.
5. How do I optimize my WordPress site after conversion?
Use caching plugins, optimize images, and minify CSS/JS for better performance.