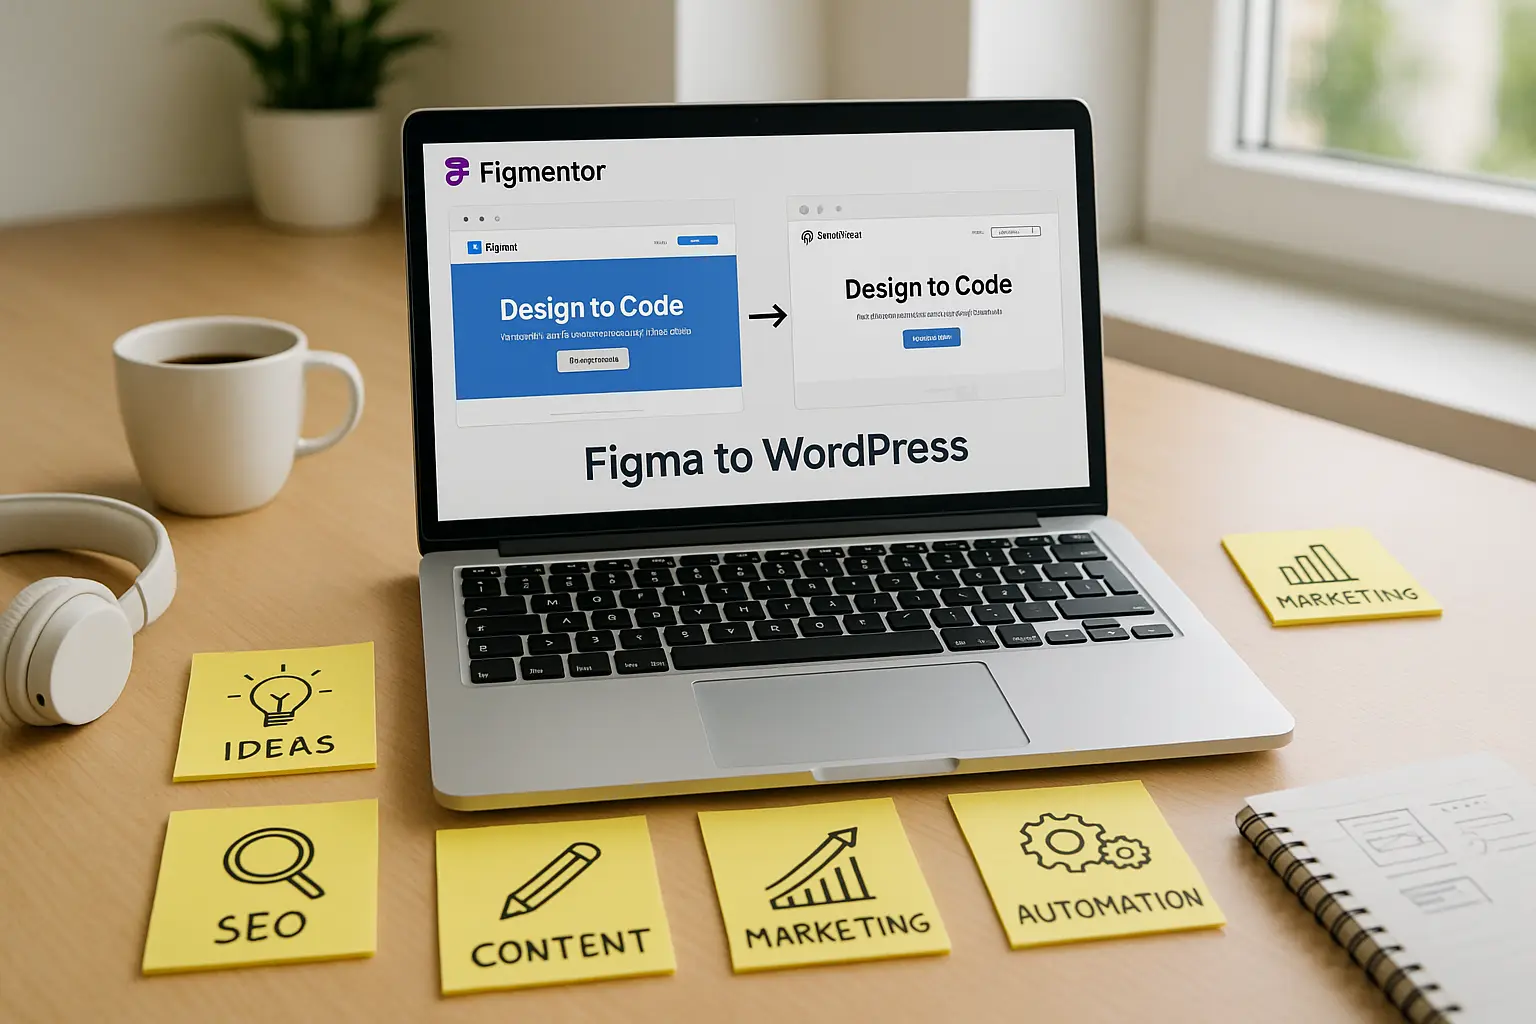

Designing a blog layout in Figma is just the first step-bringing it to life in WordPress is where the real challenge begins. If you’re a designer, developer, or agency looking to streamline the process of converting Figma designs into fully functional WordPress blogs, Figmentor is your go-to solution.
This guide will walk you through the entire process of exporting a blog layout from Figma to WordPress using Figmentor, ensuring a seamless transition from design to development. Whether you’re a freelancer, a design agency, or a SaaS team, this tutorial will help you save time, reduce manual work, and maintain design fidelity.
Why Use Figmentor for Figma to WordPress Conversion?
Before diving into the steps, let’s understand why Figmentor is the best tool for this workflow:
No-Code Friendly – No need for deep coding knowledge; Figmentor automates the conversion process. Preserves Design Accuracy – Maintains fonts, colors, spacing, and responsive behavior. Elementor Integration – Works seamlessly with Elementor, making it easy to edit designs in WordPress. Time-Saving – Reduces development time by up to 70% compared to manual coding. Scalable for Agencies – Perfect for agencies handling multiple client projects.
Now, let’s get into the step-by-step process.
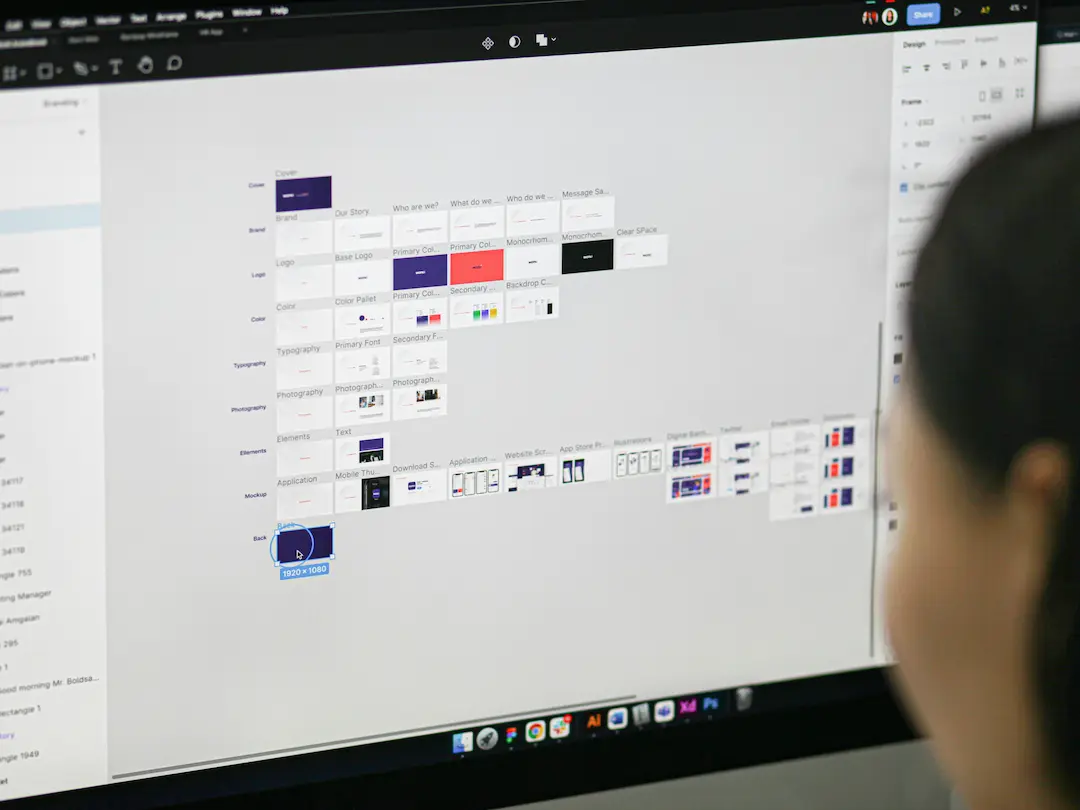
Step 1: Prepare Your Figma Blog Layout
Before exporting, ensure your Figma design is optimized for WordPress:
1.1 Organize Your Layers & Frames
- Use proper naming conventions (e.g., “Header,” “Blog Post,” “Sidebar”).
- Group related elements (e.g., buttons, cards, navigation menus).
- Ensure auto-layout is applied where necessary for responsive behavior.
1.2 Set Up Responsive Design
- Use Figma’s constraints to define how elements resize.
- Test different breakpoints (desktop, tablet, mobile).
- Ensure text and images scale properly.
1.3 Check for WordPress Compatibility
- Avoid custom fonts that aren’t web-safe unless embedded in WordPress.
- Use standard web colors (HEX or RGB) for consistency.
- Ensure image assets are optimized for the web.
Step 2: Install & Configure Figmentor
2.1 Install the Figmentor Plugin
- Go to your WordPress dashboard.
- Navigate to Plugins > Add New.
- Search for “Figmentor” and install it.
- Activate the plugin.
2.2 Connect Figma to Figmentor
- Open Figmentor settings in WordPress.
- Generate an API key (if required).
- Install the Figmentor Figma plugin (if available).
- Link your Figma account to Figmentor.
Step 3: Exporting the Blog Layout from Figma
3.1 Select the Correct Frames
- Open your Figma file.
- Select the blog layout frame you want to export.
- Ensure all elements are properly grouped.
3.2 Use the Figmentor Export Feature
- Click on the Figmentor plugin in Figma.
- Choose “Export to WordPress”.
- Select the target WordPress page (or create a new one).
- Click Export.
3.3 Review the Exported Elements
- Figmentor will generate Elementor-compatible widgets.
- Check for any missing elements or misalignments.
- Adjust spacing and responsive settings if needed.
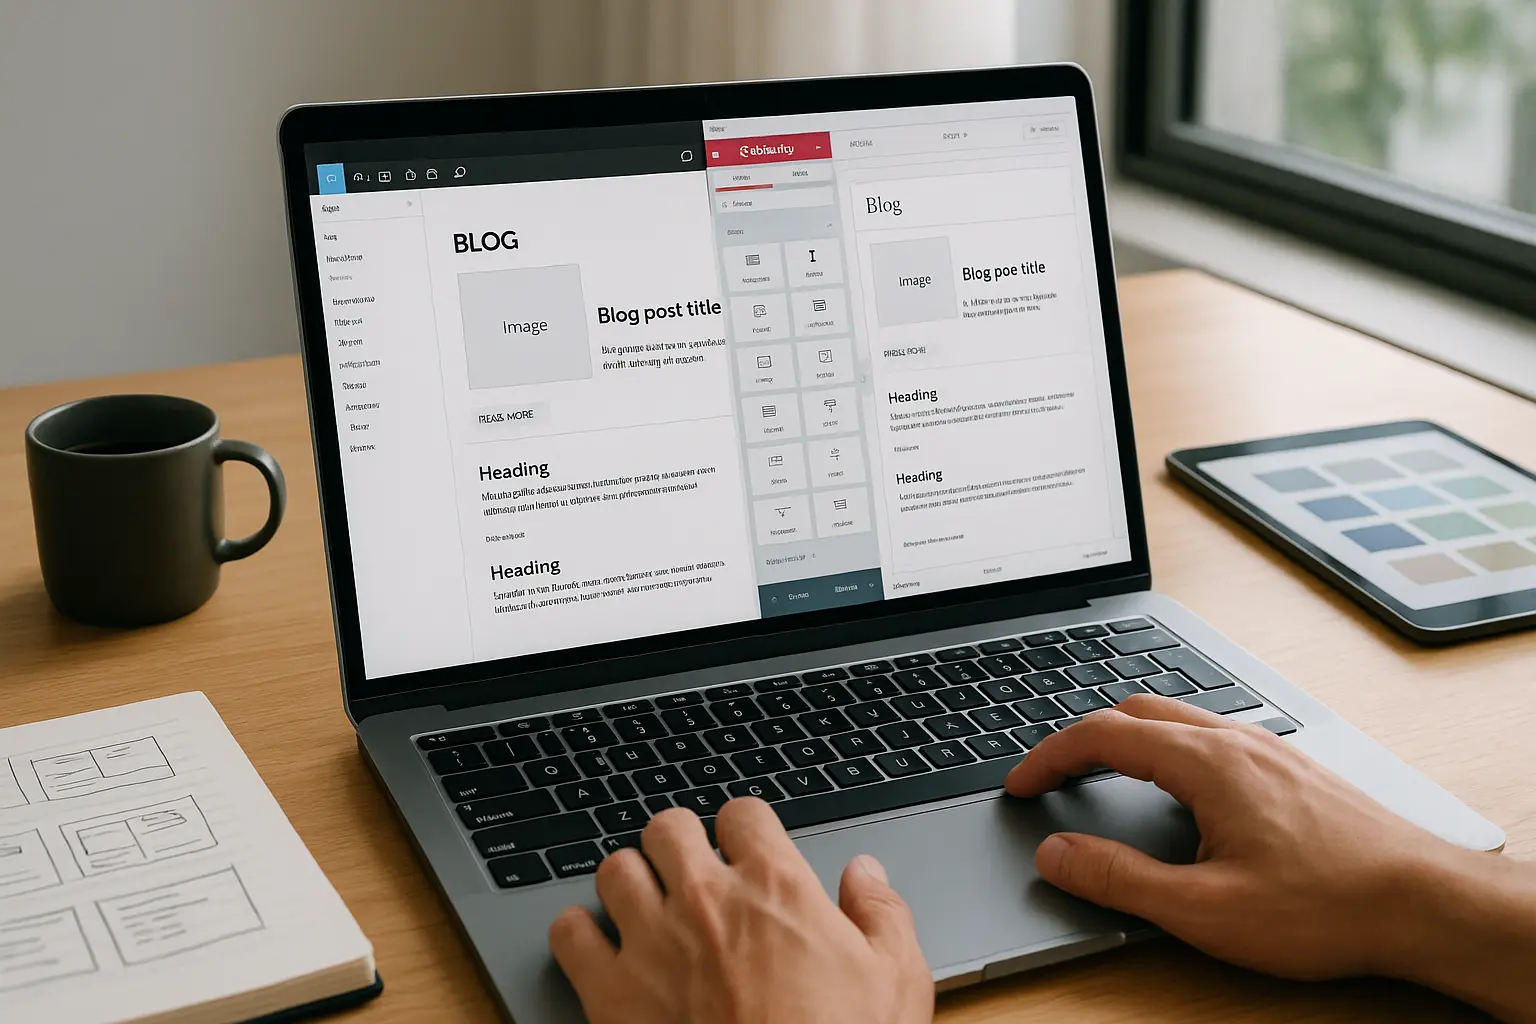
Step 4: Fine-Tuning in WordPress with Elementor
4.1 Open the Exported Page in Elementor
- Go to Pages in WordPress.
- Find your exported blog layout.
- Click “Edit with Elementor.”
4.2 Adjust Design Elements
- Text & Typography: Ensure fonts match Figma.
- Images & Media: Verify all images are properly loaded.
- Buttons & Links: Check hover effects and interactions.
- Responsive Settings: Test on different devices.
4.3 Save & Publish
- Click “Update” to save changes.
- Preview the page before publishing.
Step 5: Optimizing for Performance & SEO
5.1 Optimize Images
- Use WebP format for faster loading.
- Compress images with Smush or ShortPixel.
5.2 Improve Page Speed
- Enable caching (WP Rocket, W3 Total Cache).
- Use a CDN (Cloudflare, BunnyCDN).
5.3 SEO Best Practices
- Add meta titles & descriptions.
- Use SEO plugins (Yoast, Rank Math).
- Ensure proper heading structure (H1, H2, H3).
Common Issues & Troubleshooting
Issue 1: Design Misalignment
- Solution: Check Figma constraints and Elementor padding settings.
Issue 2: Missing Fonts
- Solution: Embed custom fonts in WordPress or use system fonts.
Issue 3: Broken Links or Images
- Solution: Re-upload assets and check file paths.
Issue 4: Responsive Issues
- Solution: Adjust Elementor’s responsive settings manually.
FAQs
1. Can I export multiple blog layouts at once?
Yes, Figmentor supports batch exporting, making it efficient for agencies handling multiple designs.
2. Does Figmentor work with all WordPress themes?
Figmentor works best with Elementor-compatible themes. Some custom themes may require adjustments.
3. How do I update the design after exporting?
You can re-export from Figma or manually edit in Elementor.
4. Is Figmentor free to use?
Figmentor offers a free version with basic features and a premium version for advanced functionalities.
5. Can I use Figmentor for WooCommerce designs?
Yes, Figmentor supports WooCommerce layouts, including product pages and shop designs.
Conclusion
Exporting a blog layout from Figma to WordPress has never been easier, thanks to Figmentor. By following this step-by-step guide, you can save hours of manual work, maintain design accuracy, and launch WordPress blogs faster than ever before.
Whether you’re a freelancer, agency, or SaaS team, Figmentor streamlines your workflow, allowing you to focus on creativity rather than coding.
Ready to Automate Your Figma to WordPress Workflow?
Try Figmentor today and experience seamless design-to-development conversion!
Related Articles
- Figmentor Tutorial: Convert Figma to Elementor in Minutes
- How to Build a WordPress Website from Figma Without a Single Line of Code
- Figma to WordPress: The Ultimate Guide for Designers and Developers
- How to Export Figma Designs Straight to WordPress in 2025
- How to Create Pixel-Perfect WordPress Pages from Figma Files
- Designing in Figma for Direct WordPress Export: A Pro Guide
- How to Convert Figma to Elementor in Under 5 Minutes Without Coding
- Ultimate Guide: Figma to Elementor for WordPress in 2025
- How to Build Elementor Templates Directly from Figma Designs
- Elementor Template Kits: How to Build Them Directly from Figma
- How to Use Advanced Figma Features to Speed Up Your Elementor Builds
- Real Use Case: From Figma to Elementor in 1 Hour
- Top 5 Figma Export Problems for WordPress and Elementor Fixes That Work in 2025
- How Much Time and Money You Save by Using Figmentor vs Manual Handoffs
- Elementor for Figma Designers: Why This Combo Saves 100+ Hours
- 7 Costly Mistakes When Converting Figma to WordPress and How to Avoid Them
- Ultimate Guide: Converting Figma Designs to Elementor Templates